


Step 3 — Position & heading
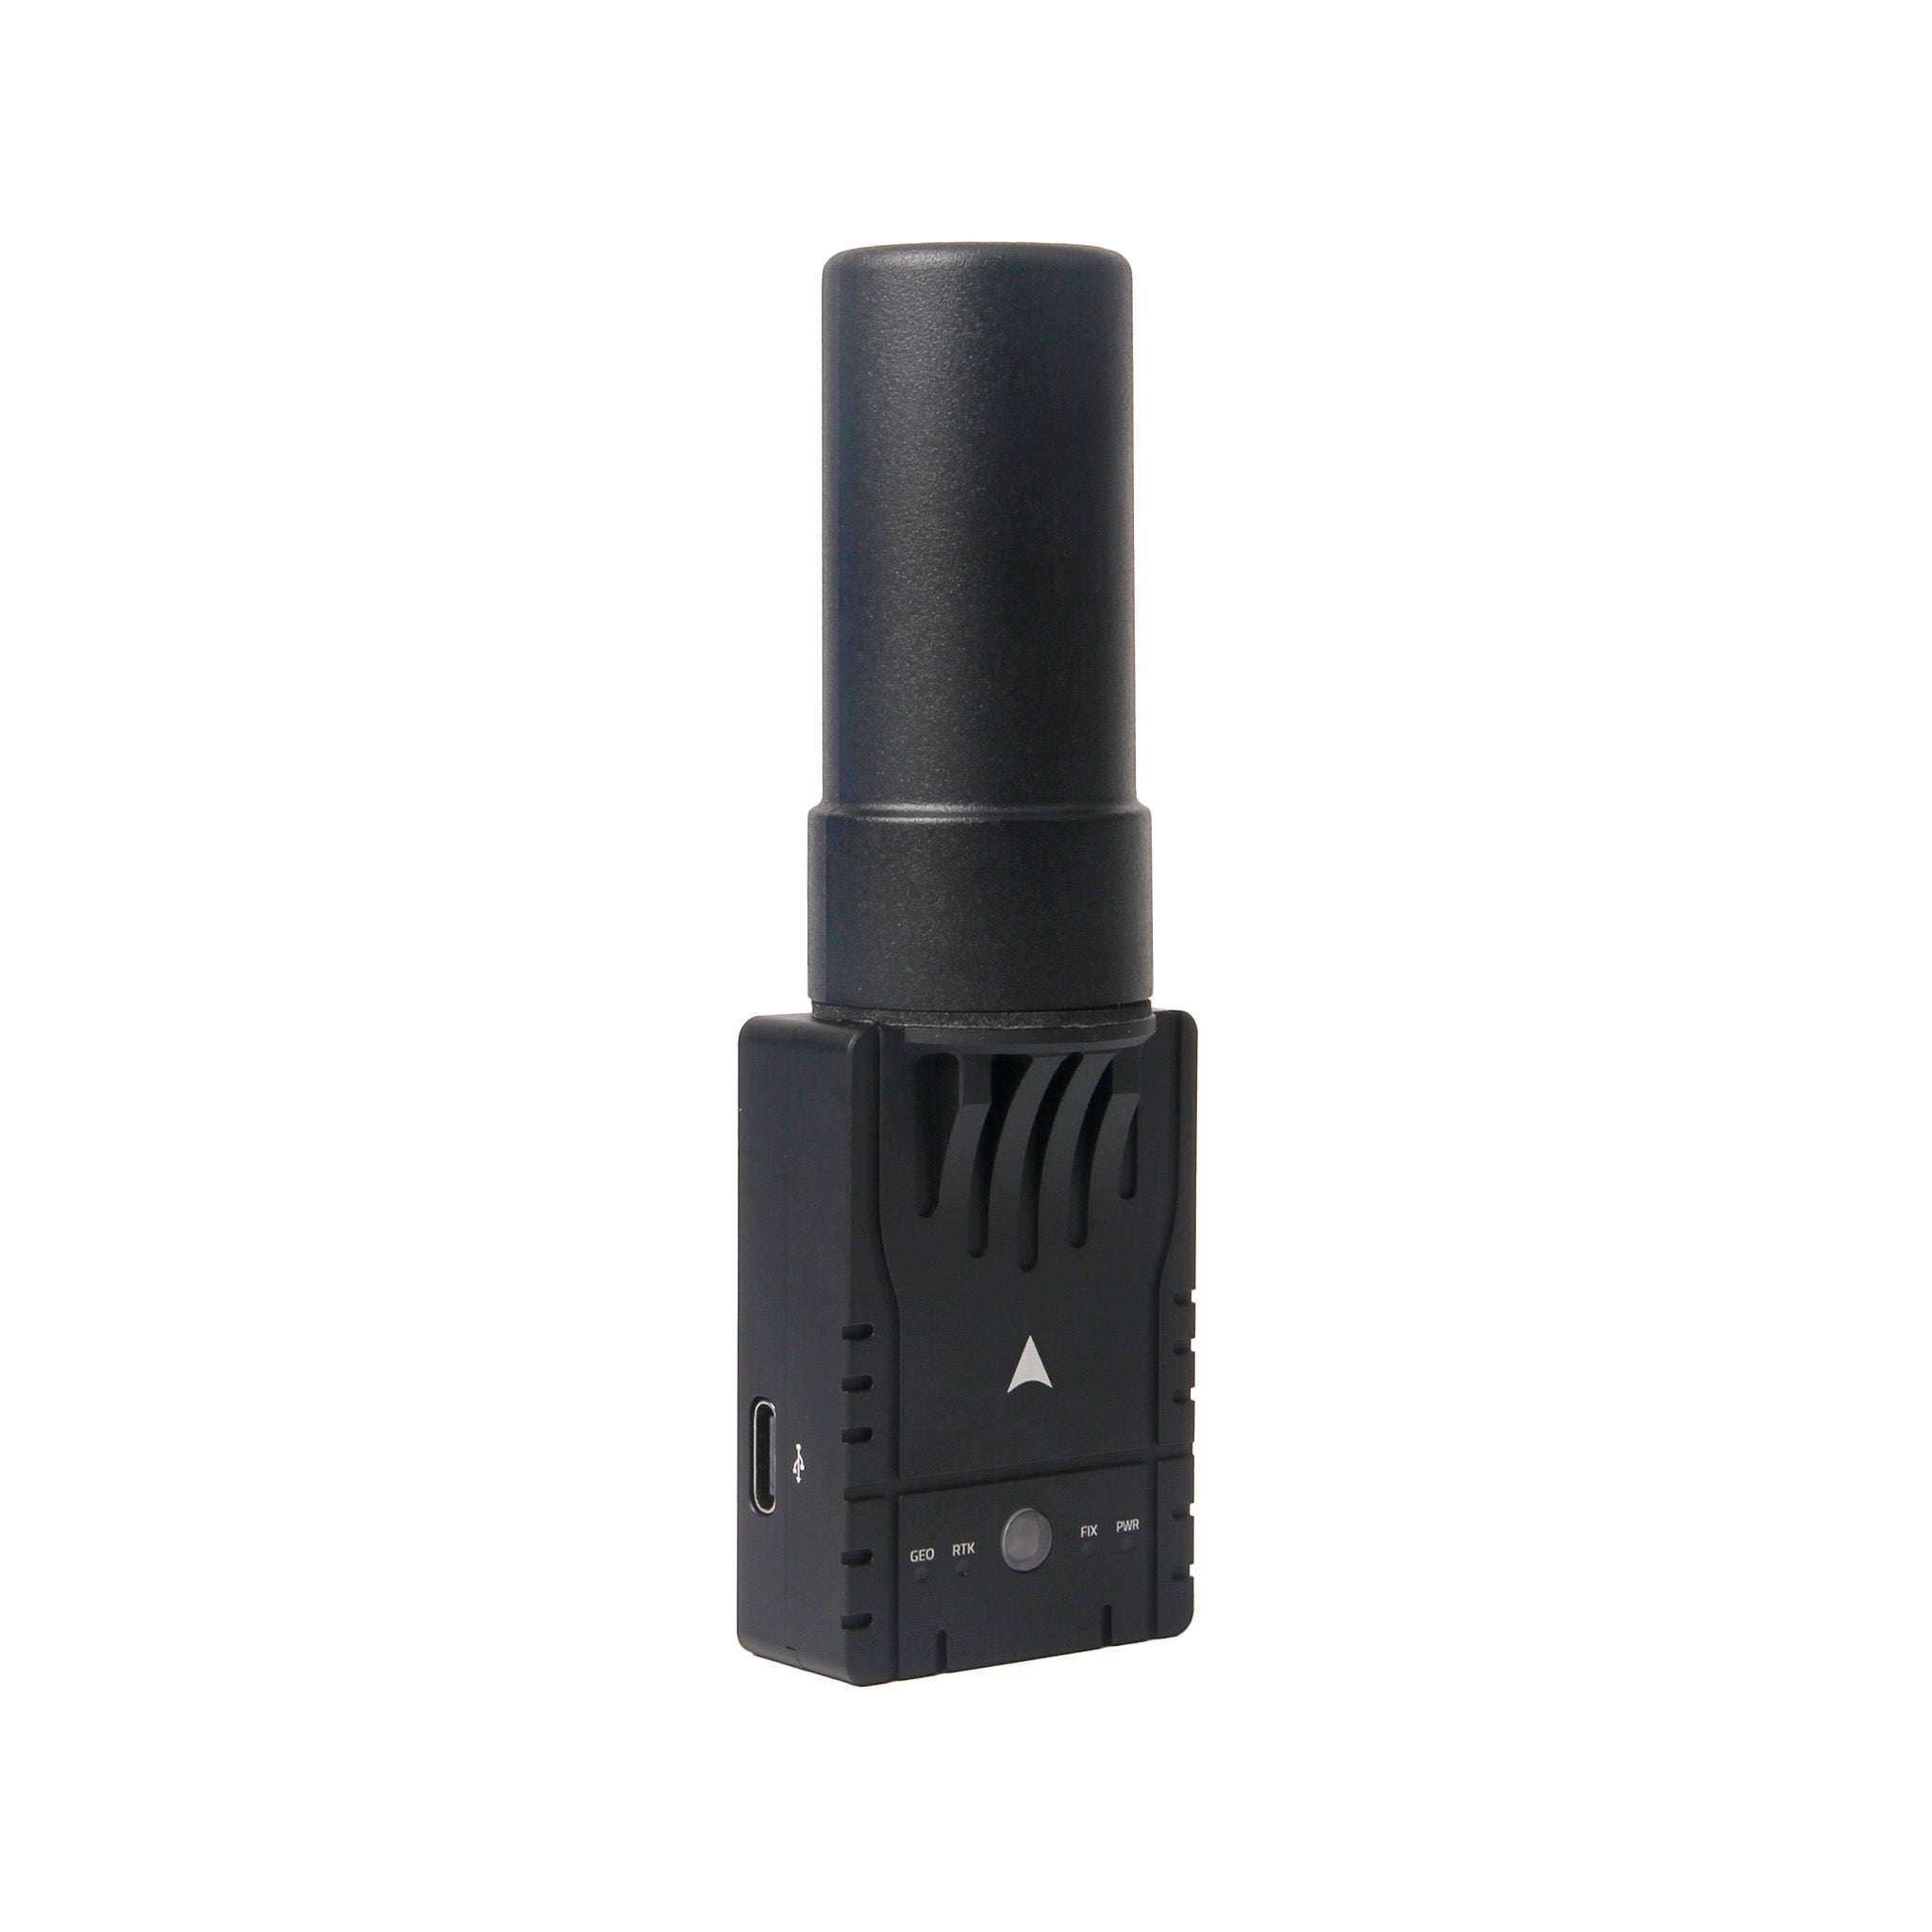
H-RTK F9P Helical
More images
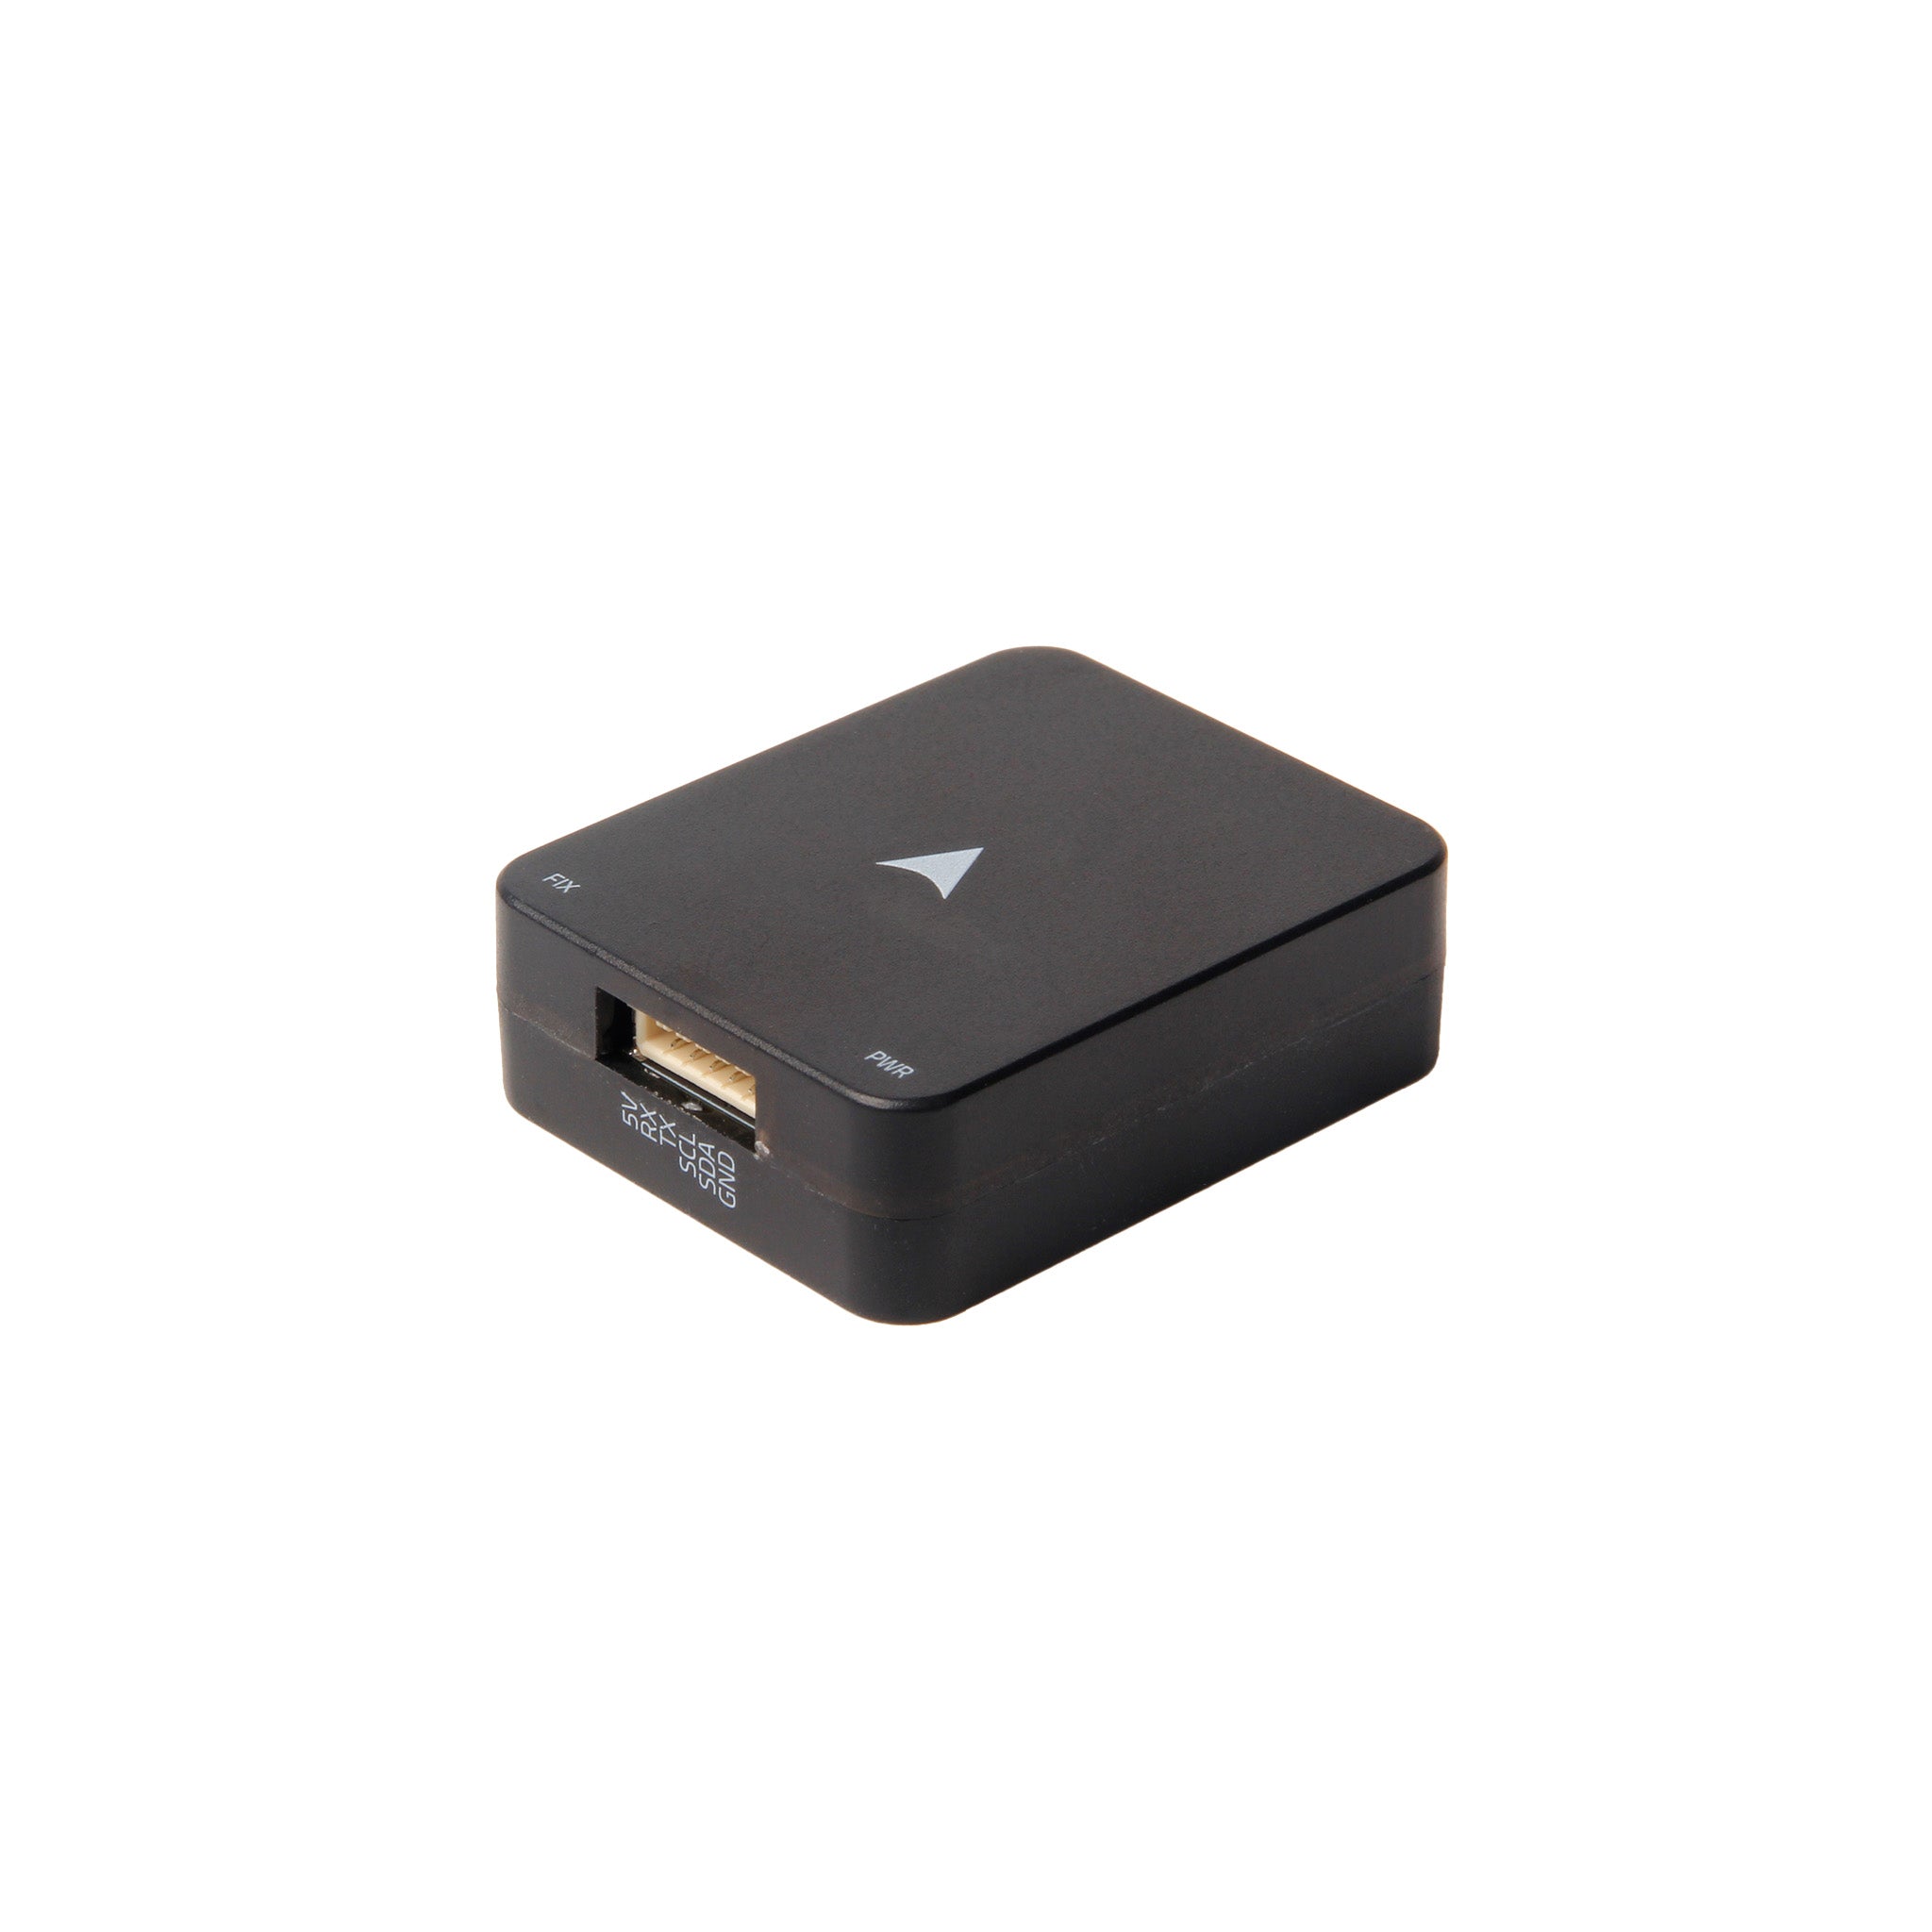
Micro M9N GPS
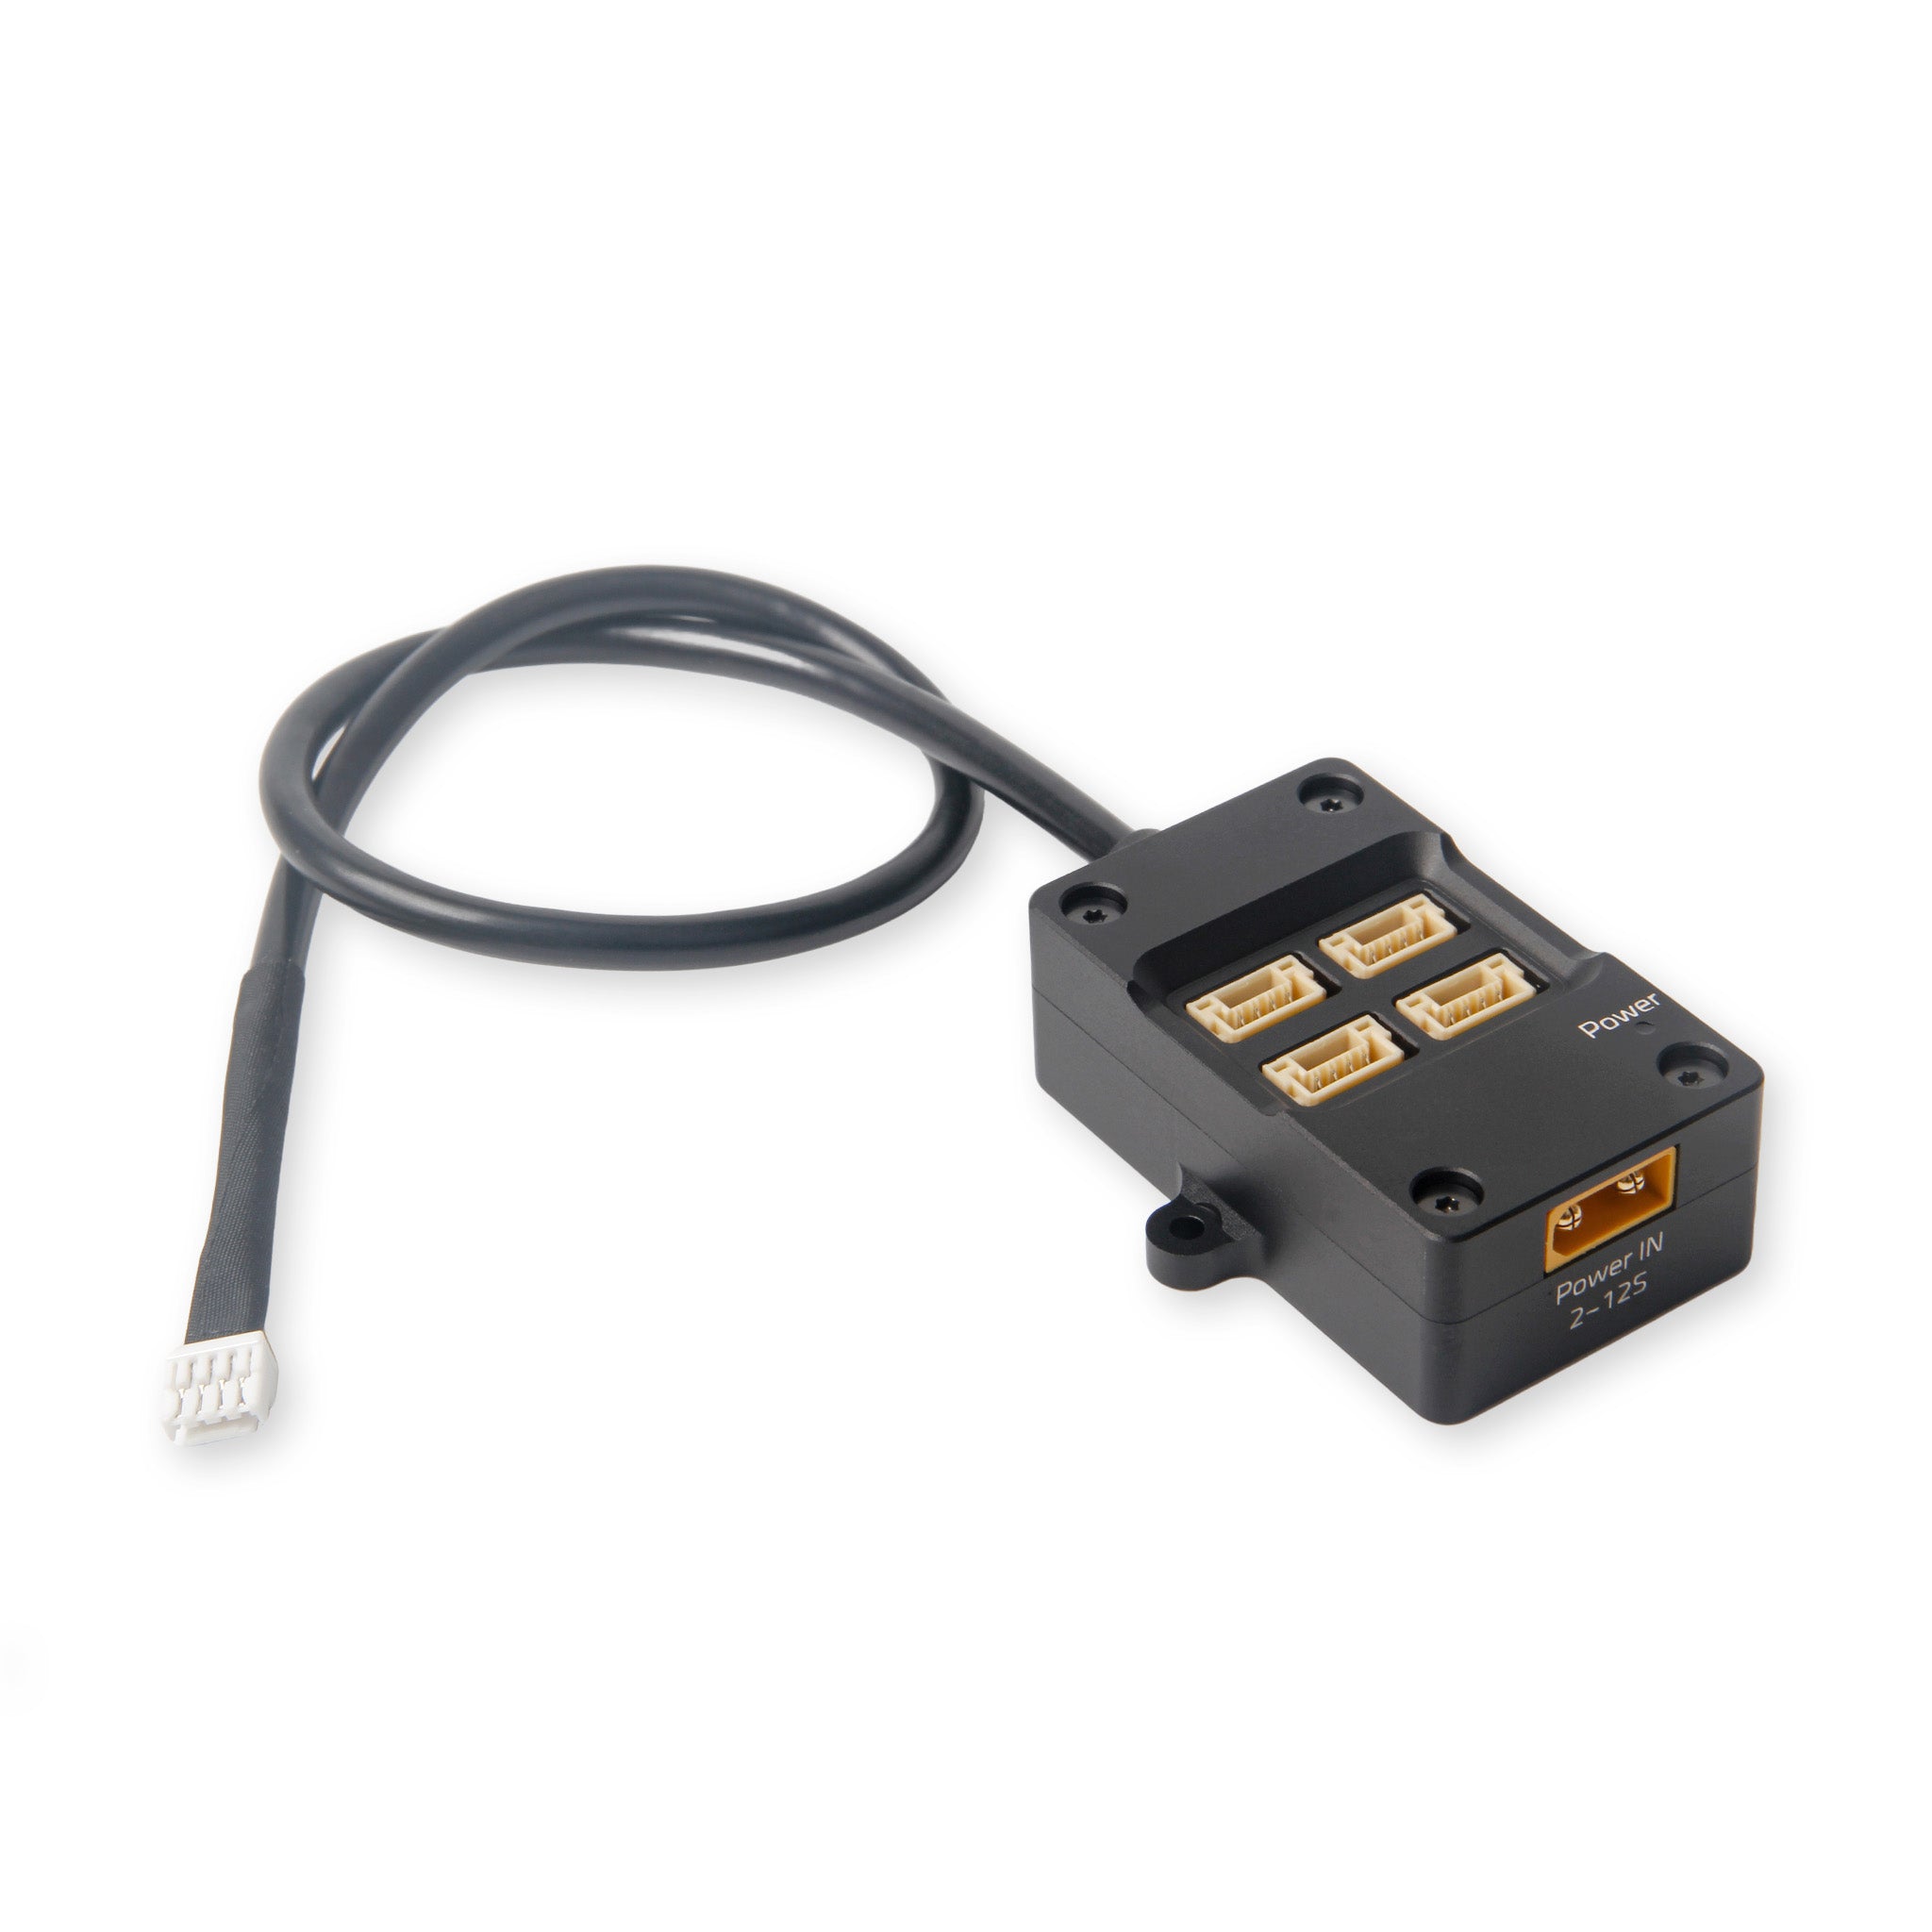
CAN Hub
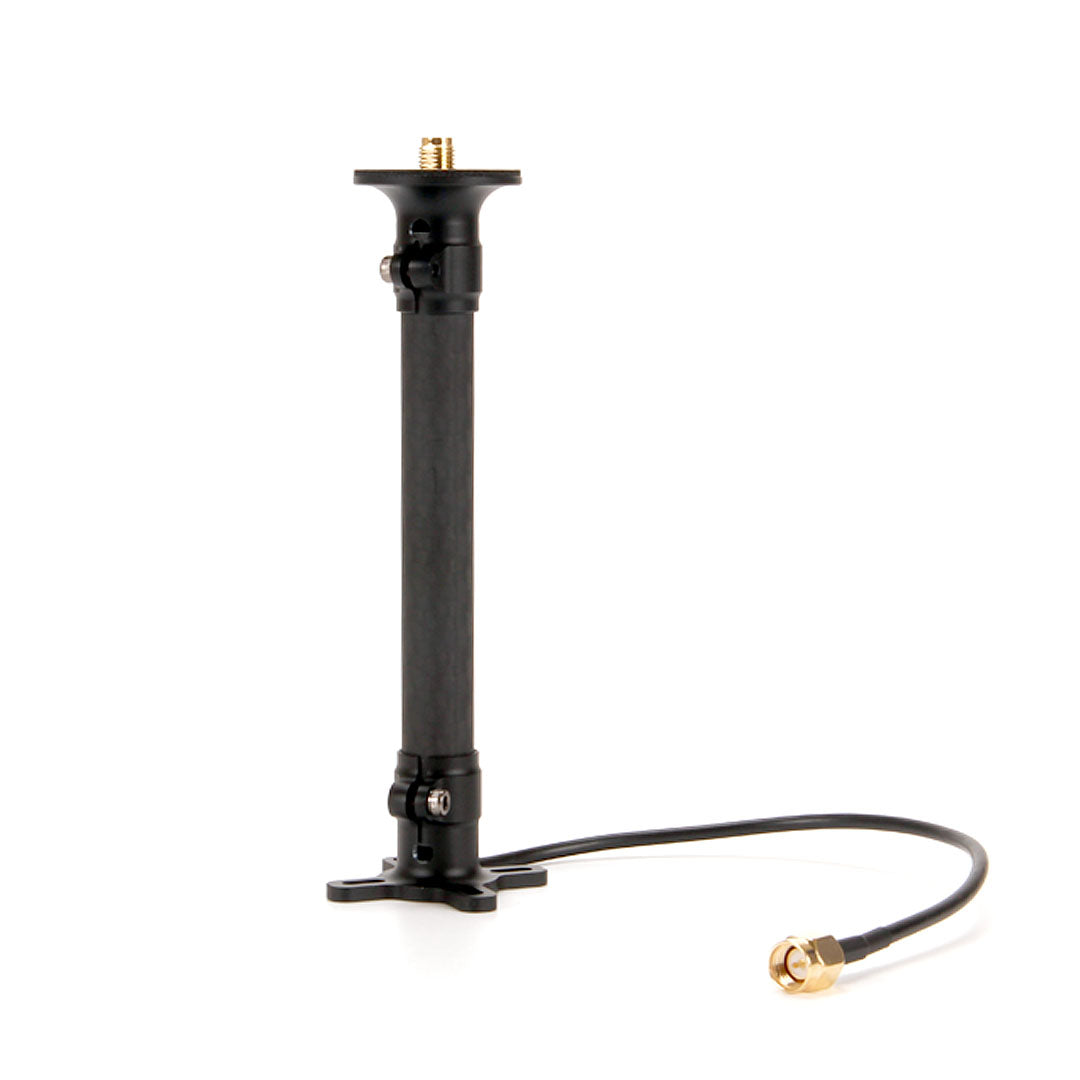
Helical mount
Goal: place M9N + F9P (via CAN Hub) with minimal interference for GPS and compass/heading.
Manuals & guides
Official docs and practical guides for this step:
- Holybro — H-RTK F9P DroneCAN overview
- Holybro — H-RTK ArduPilot setup
- ArduPilot — Compass calibration
- ArduPilot — Magnetic interference
- Holybro — CAN termination (DroneCAN)
Video guides
Videos below are embedded. Use the link if the player does not load.
ArduPilot Compass Setup Pro Tips — avoid toilet-bowling — YouTube
How to configure DroneCAN on ArduPilot — YouTube
What you do
- Wire Micro M9N to GPS1; keep the compass away from ESC/power/video.
- Connect the CAN Hub to CAN1; attach H-RTK F9P Helical (+ mount) on the hub.
- Mast / helical placement: clear sky view, minimal metal/carbon shadowing.
- Confirm DroneCAN nodes in Mission Planner / MAVProxy.
- Compass calibration and outdoor GPS fix check.
Related parts
Done when
- Both GPS paths work, heading/compass is usable, and interference is acceptably low.
Photos