


Step 2 — Flight controller & power
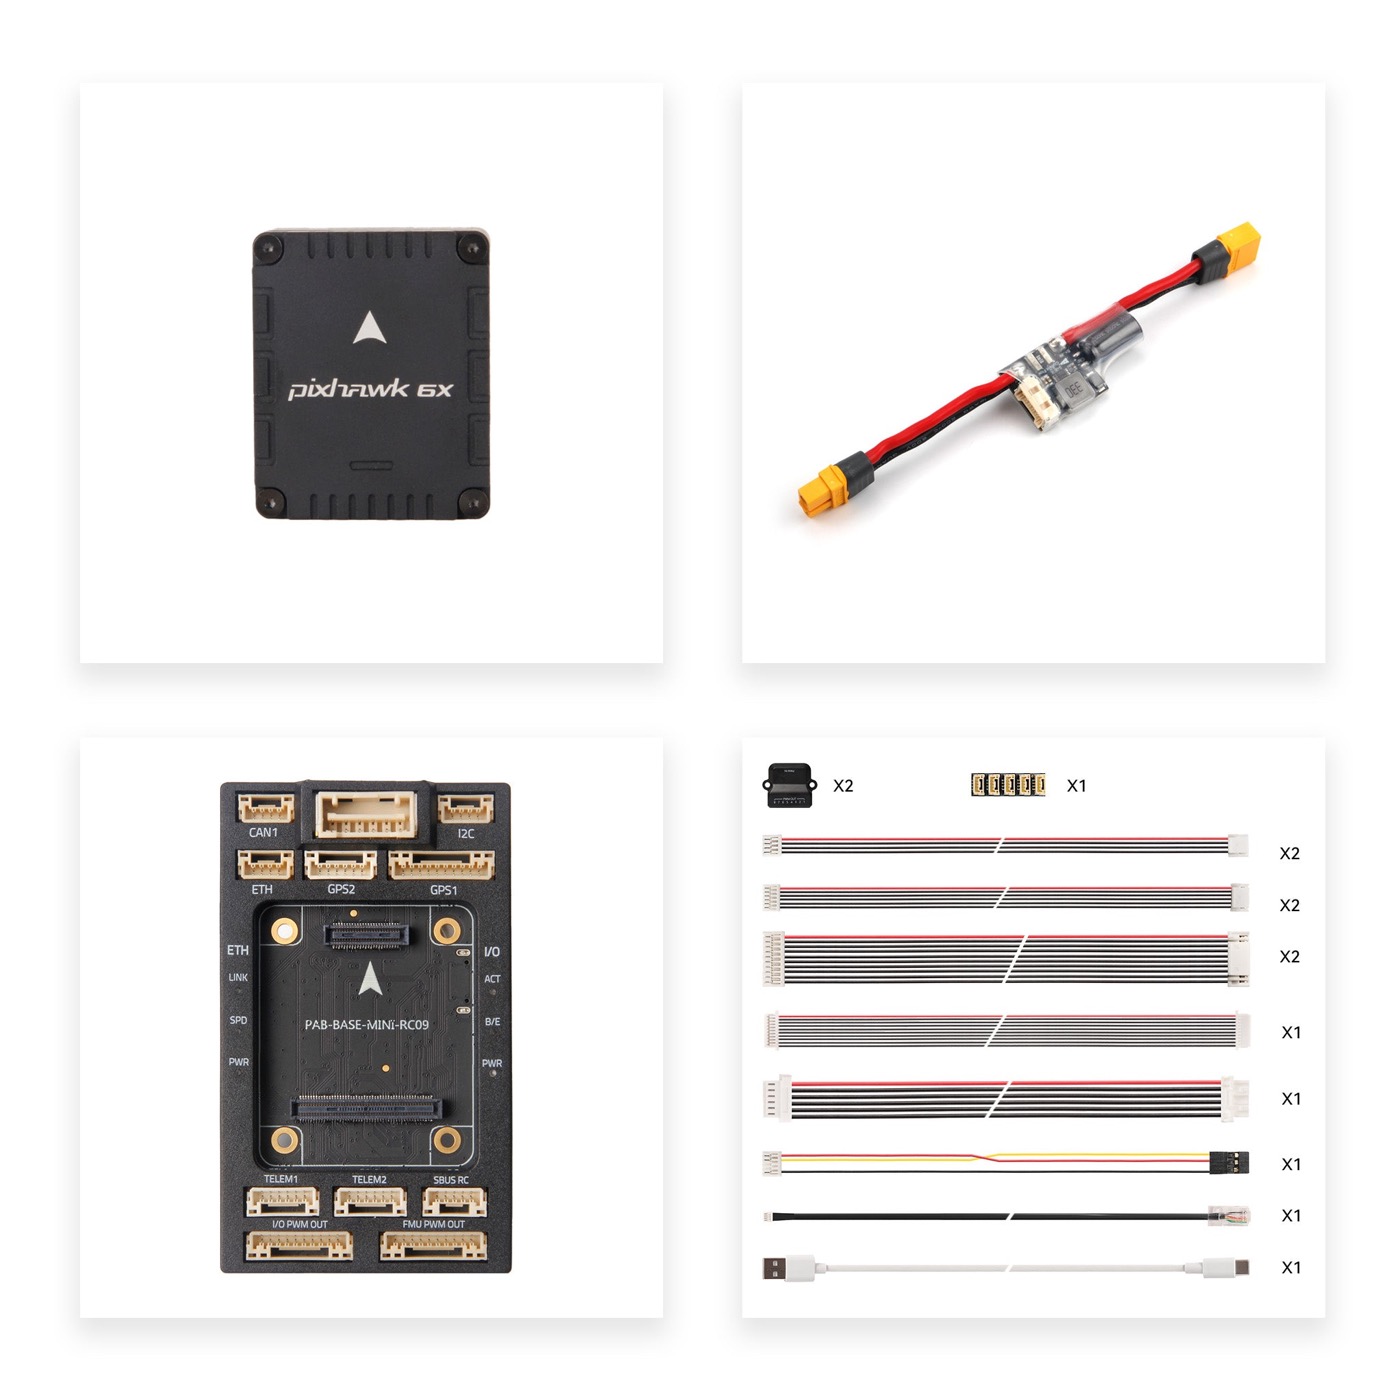
Pixhawk 6X Mini
More images
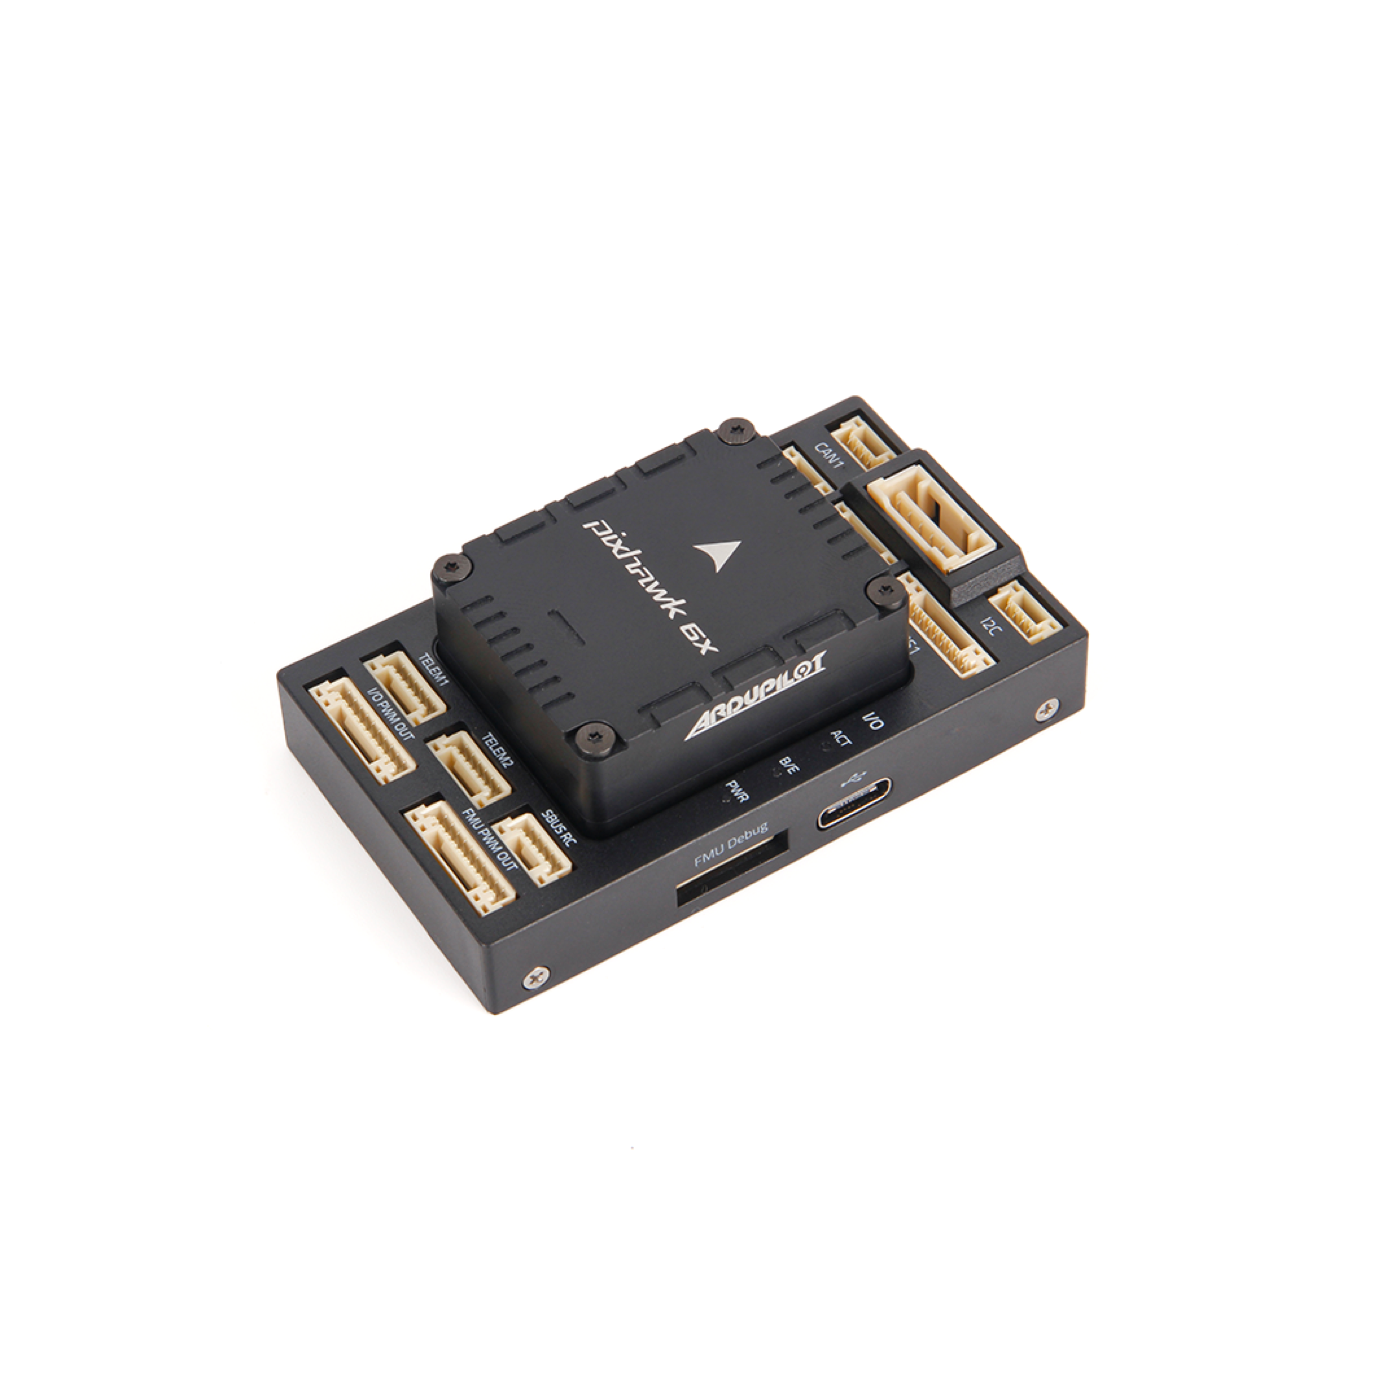
FMU module
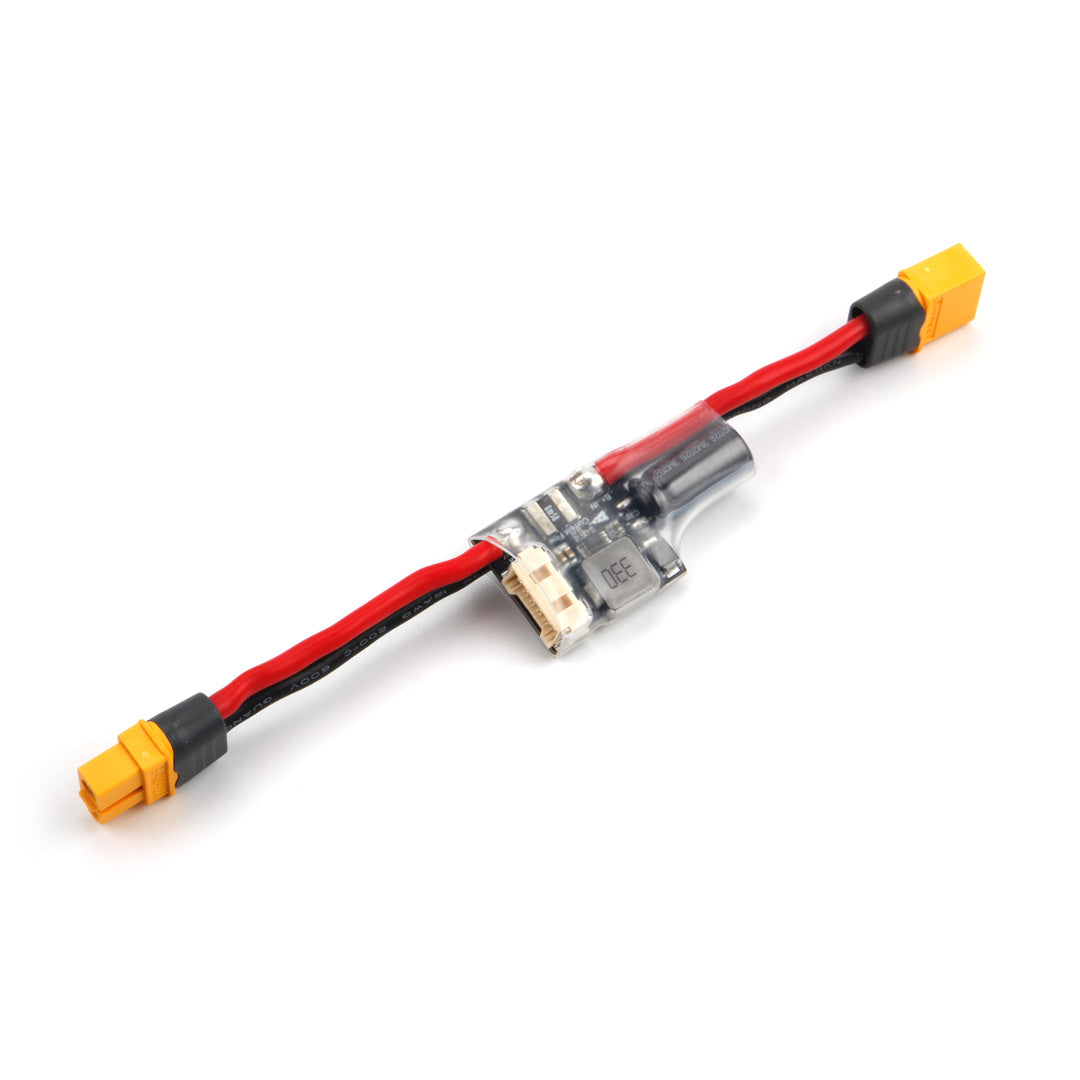
PM02D power module
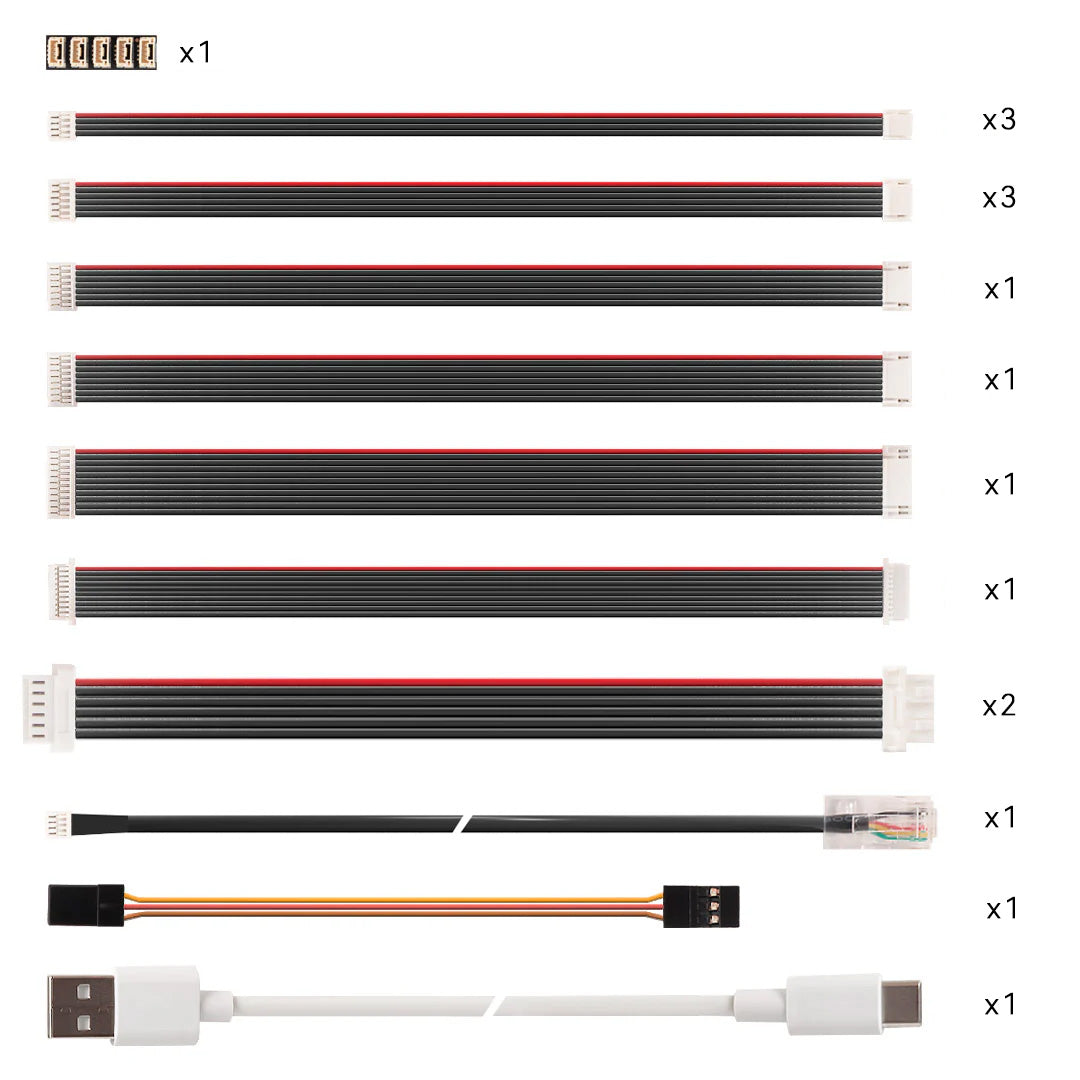
Mini cable set
Goal: wire Pixhawk 6X Mini + PM02D safely; power and cabling must be solid before sensors/radio.
Manuals & guides
Official docs and practical guides for this step:
- Holybro Pixhawk 6X Mini (product)
- ArduPilot — Pixhawk 6X
- Holybro — Digital Power Module (PM02D) setup
- PM02D product
- Unmanned Tech — ArduPilot FC setup guide
Video guides
Videos below are embedded. Use the link if the player does not load.
Holybro Pixhawk 6X Unboxing, Review and Assembling — YouTube
What you do
- Soft-mount the Pixhawk 6X Mini on the UL8 stack (30.5 mm).
- Put PM02D in the power path (6S → PM02D → POWER1); do not use an analog PM on this FC.
- Split battery power in parallel to the Pacer (motors) and PM02D (FC); PM02D is not a PDB.
- Solder the low-ESR capacitor on the ESC power pads (included with the Pacer; PM02D has none). For 8″/6S prefer ~2200 µF or 2×1000 µF @ 35–50 V — Oscar Liang.
- Use the Mini cable set for I/O; reserve ports per the locked port table.
- Check polarity, connectors, and strain relief.
- First boot without props: FC starts, buzzer/LED OK, no shorts.
Related parts
Done when
- FC has stable power via PM02D, wiring is tidy, and port allocation is locked.
Photos