


Step 3 — Position & heading
With power and FC in place (step 2), we add position and orientation. Micro M9N on GPS2. H-RTK F9P Helical and later H-Flow on the CAN Hub. Port plan: ports & wiring.
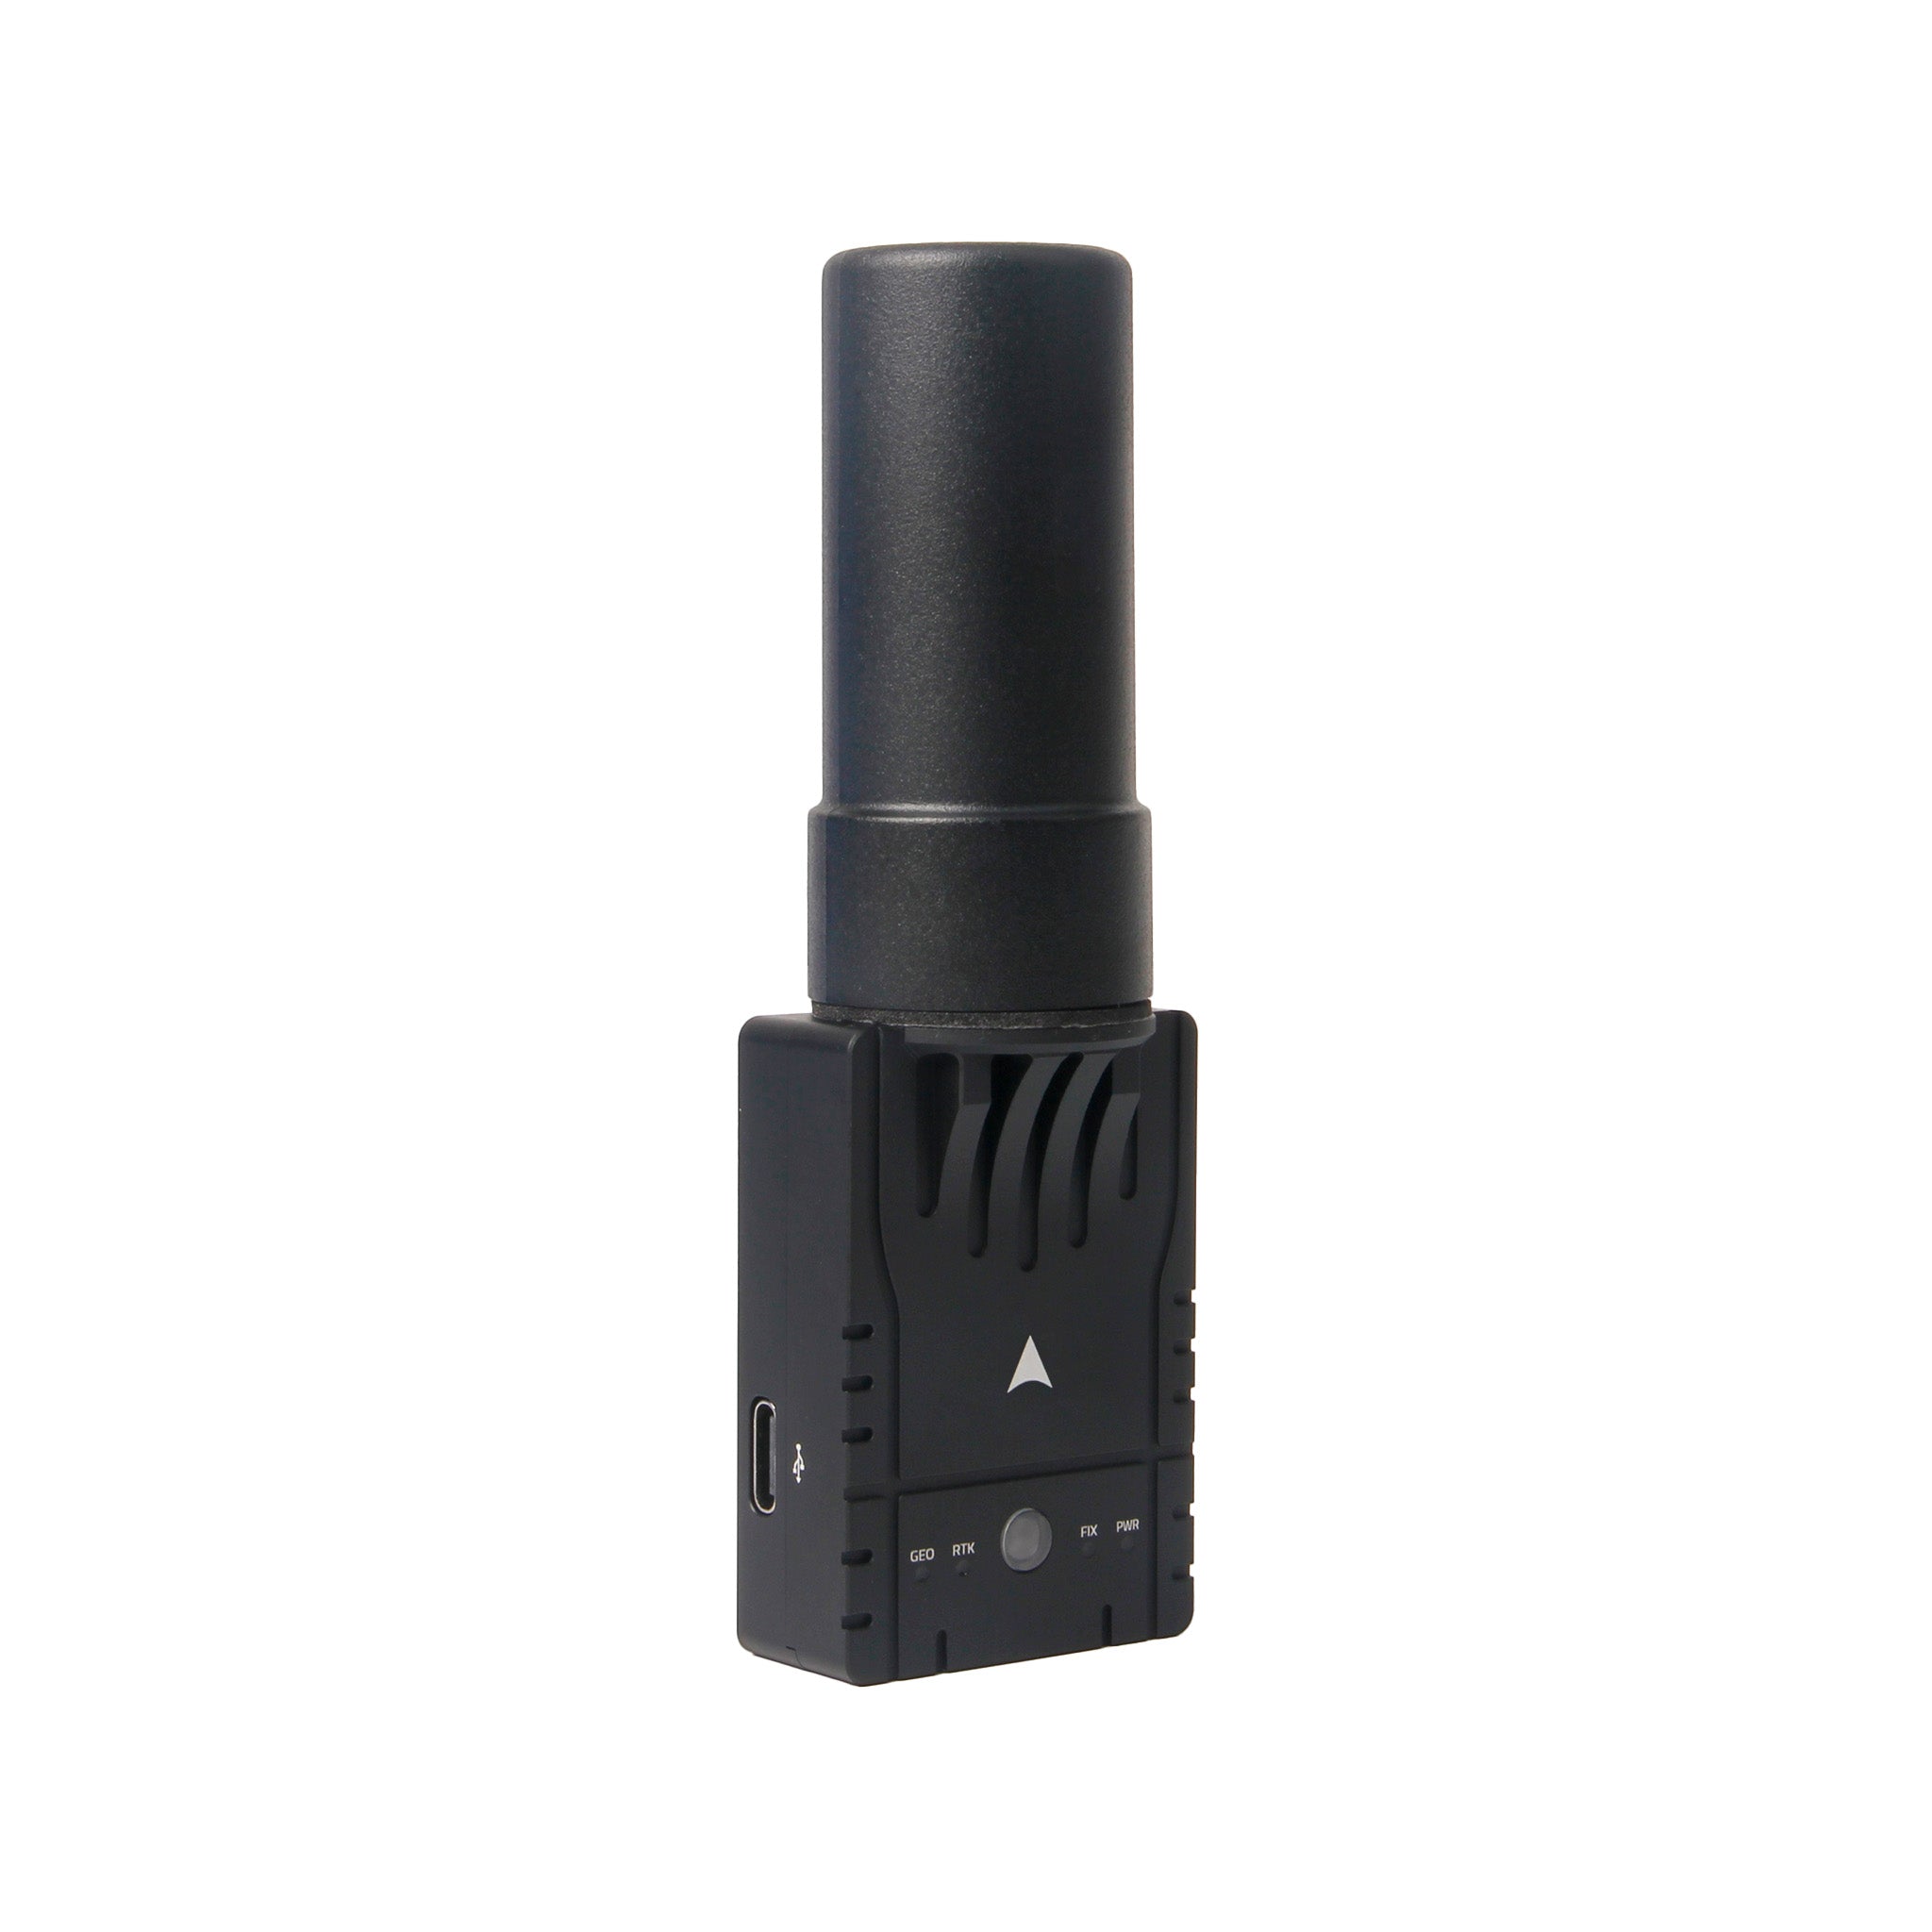
H-RTK F9P Helical
More images
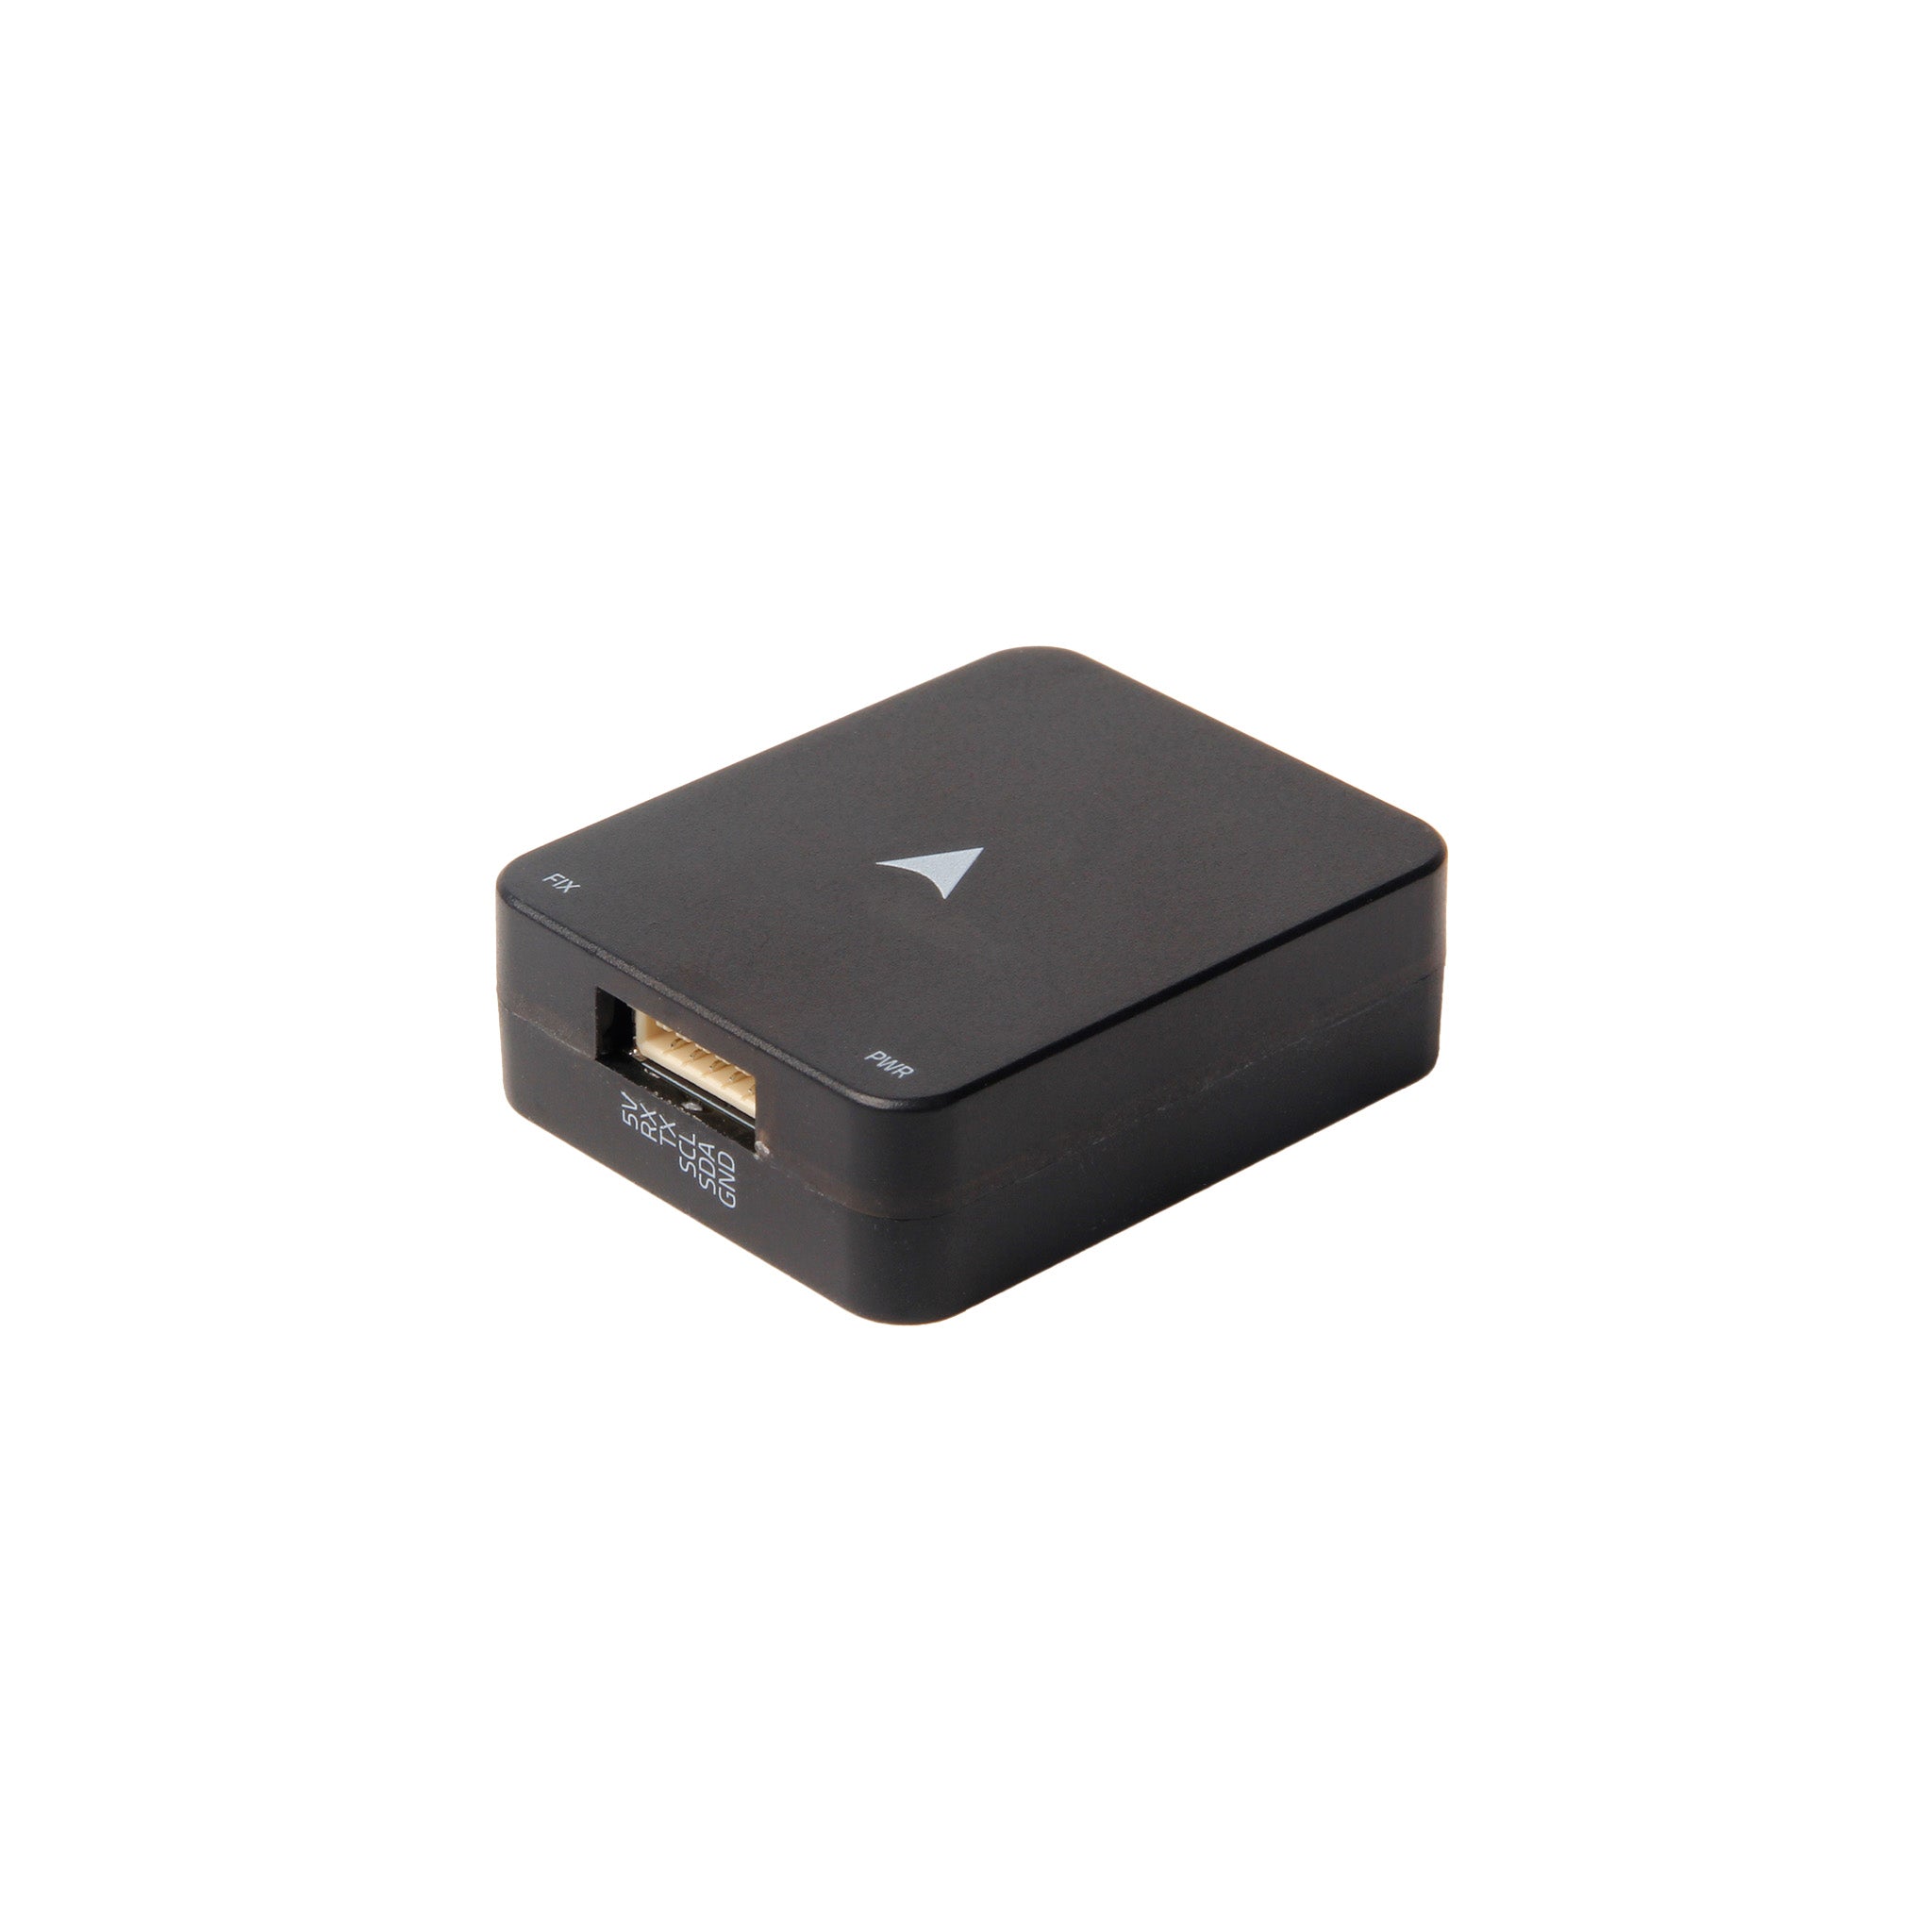
Micro M9N GPS
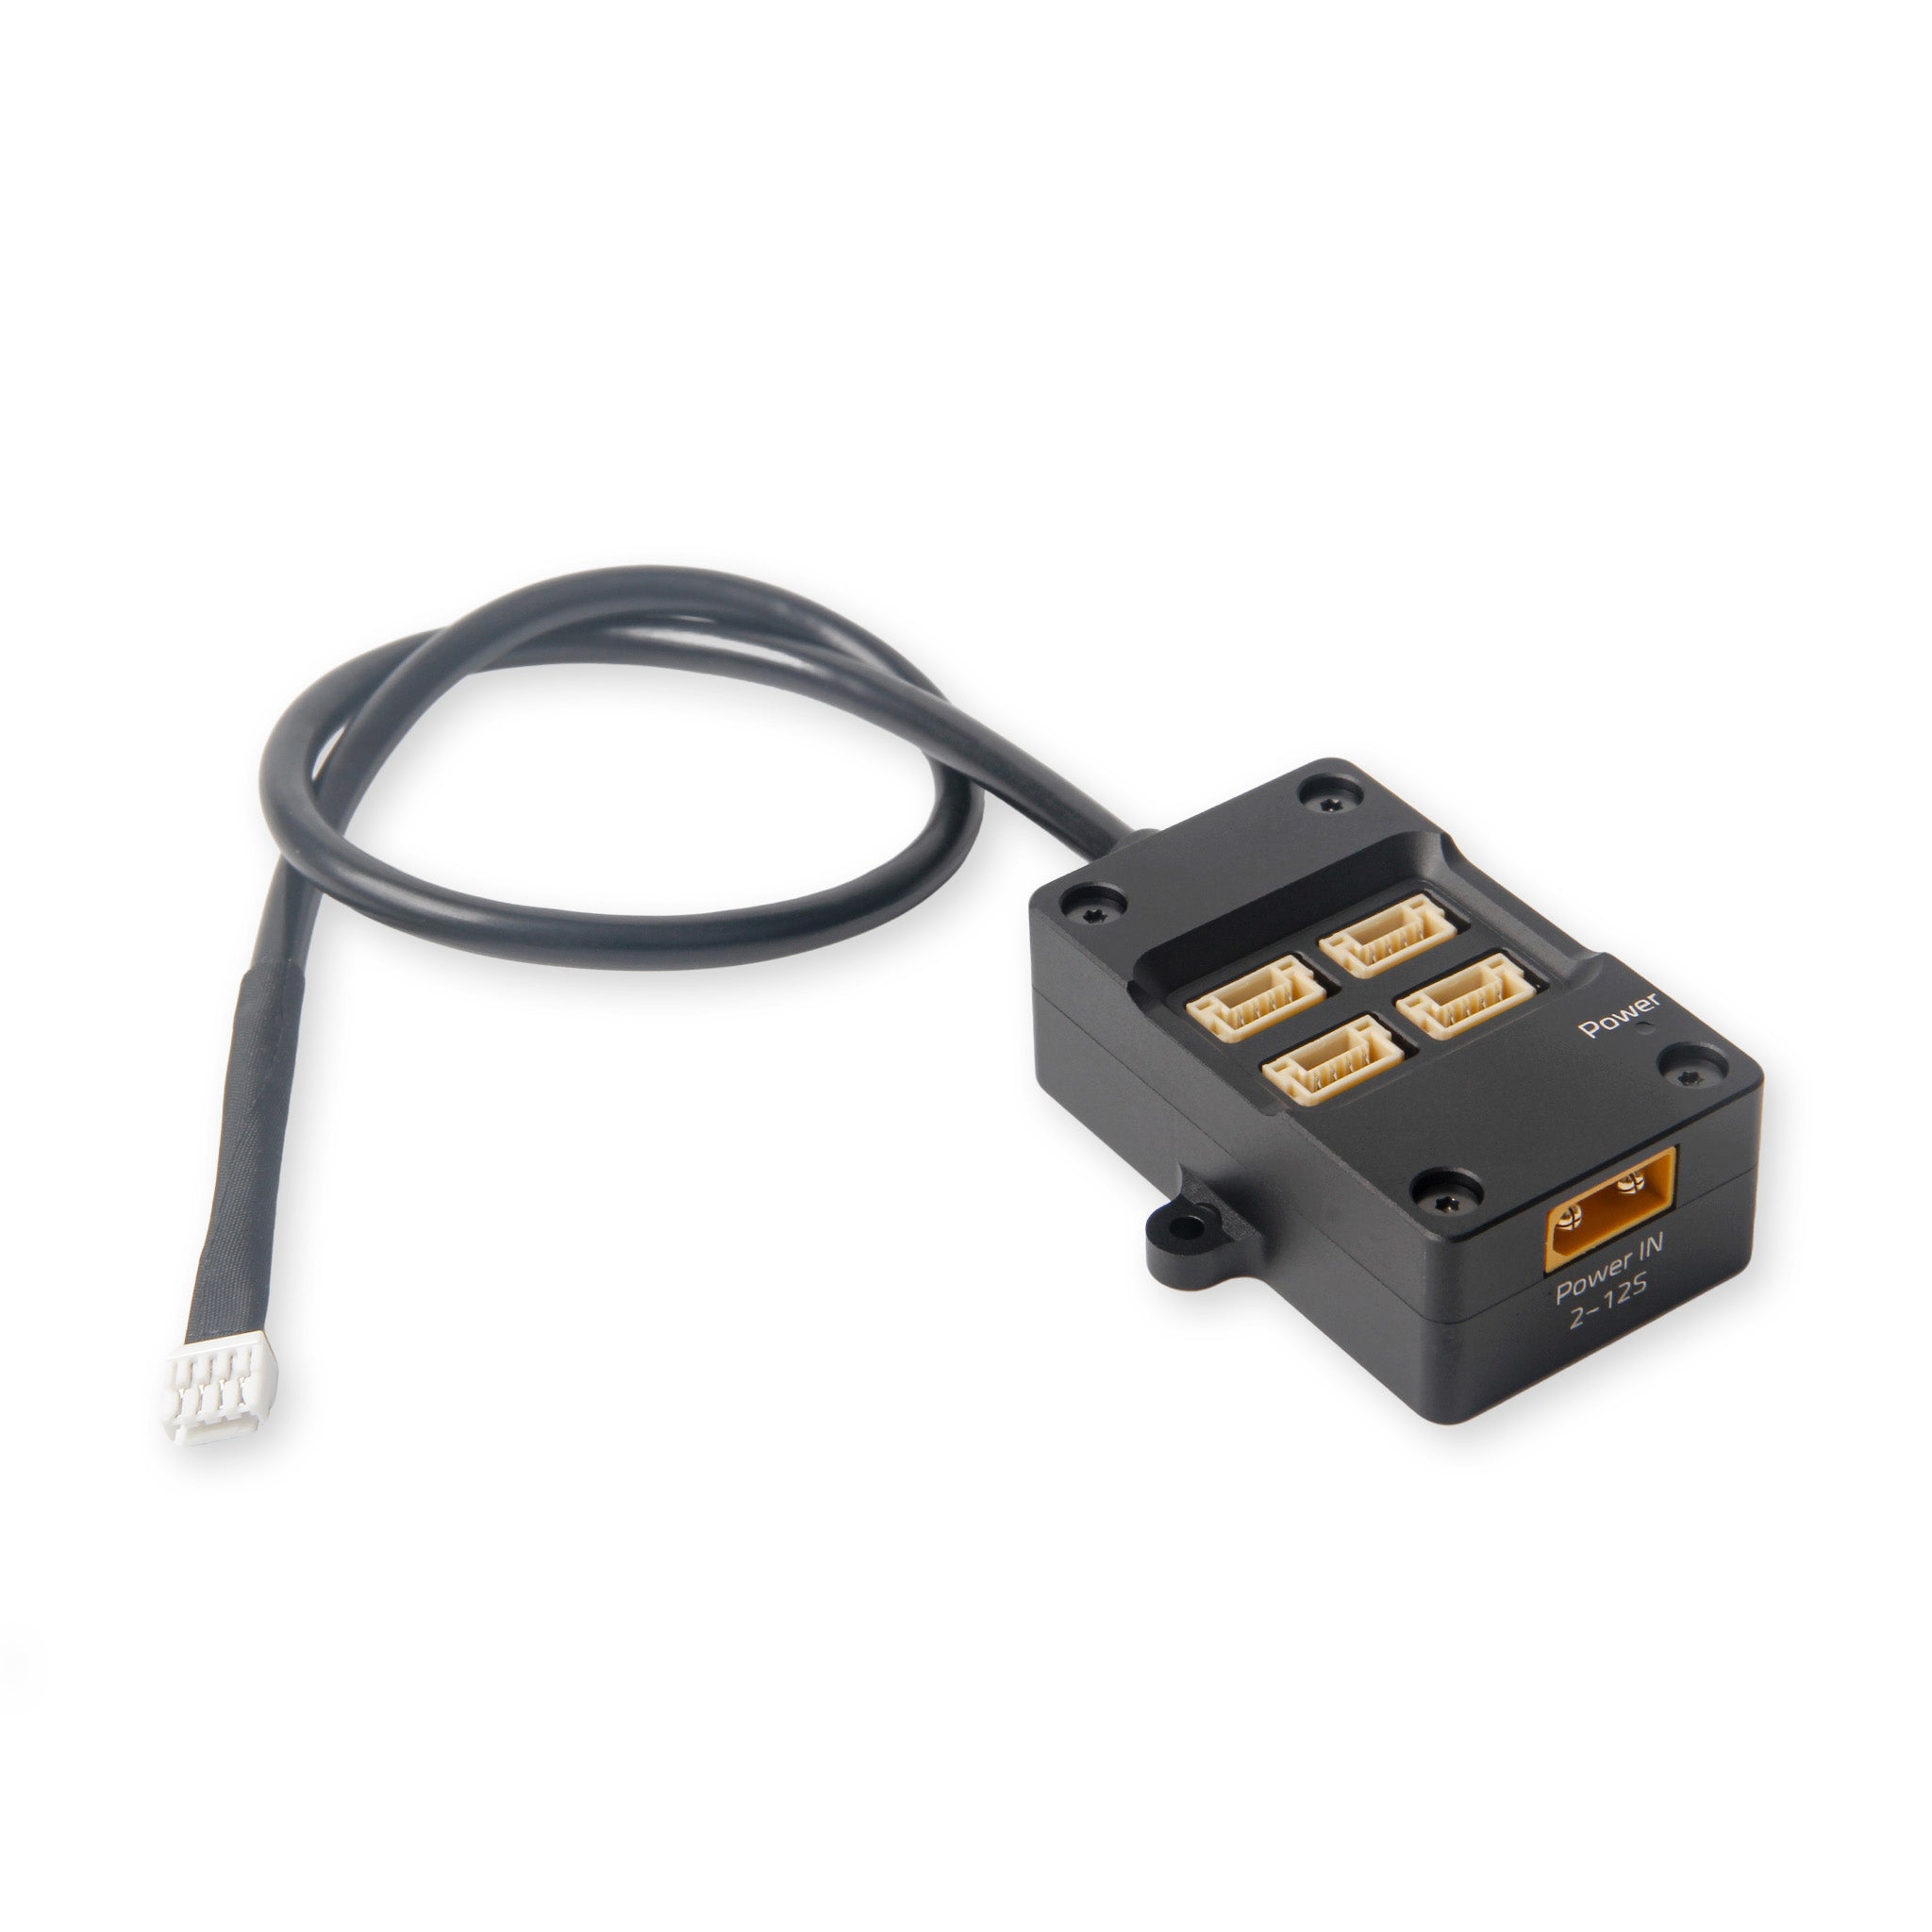
CAN Hub
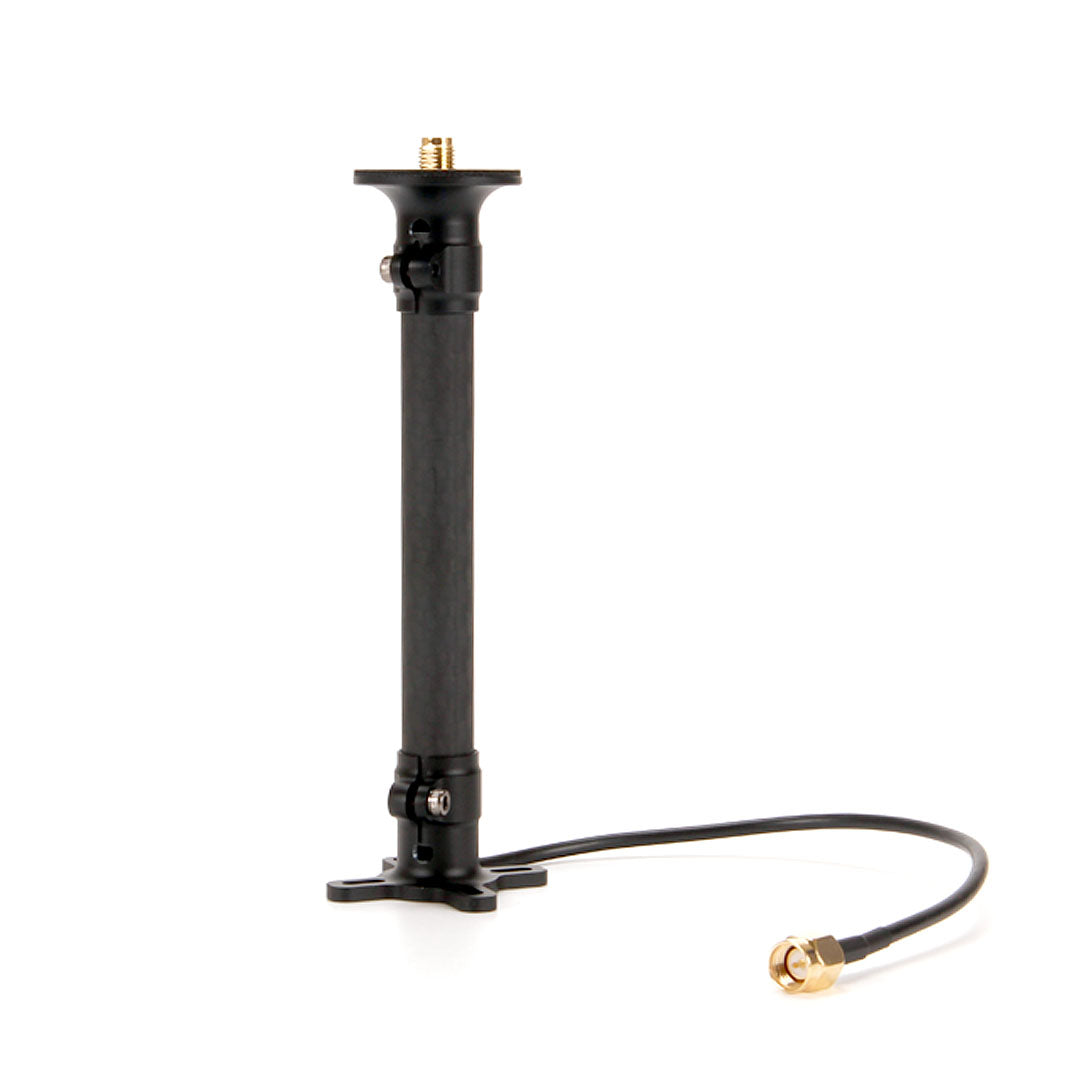
Helical mount
What we choose
Two GPS paths. M9N on UART. F9P on DroneCAN. Keep the compass away from ESC, power, and video. That keeps heading usable until we can fly safely.
What we do
- Wire Micro M9N to GPS2. Keep the compass away from ESC/power/video.
- Connect the CAN Hub to CAN1. Attach H-RTK F9P Helical (+ mount) and later H-Flow on the hub. Check 120 Ω termination.
- Enable ArduPilot CAN1:
CAN_P1_DRIVER=1→ reboot →CAN_P1_BITRATE(Holybro usually 1 Mbit/s) →CAN_D1_PROTOCOL=1+ uniqueCAN_D1_UC_NODE→ reboot. Details: CAN Hub. - Mast / helical placement: clear sky view. Minimal metal/carbon shadowing.
- Mission Planner → Optional Hardware → DroneCAN/UAVCAN → MAVLinkCAN1: F9P (and H-Flow) must appear as nodes.
- Compass calibration and GPS fix check outdoors.
Manuals
- CAN Hub — DroneCAN FC side (our checklist) — bitrate, node IDs, Mission Planner panel
- ArduPilot — DroneCAN Setup (advanced) — GPS type 9, rangefinder type 24, DNA/SLCAN
- IQ Motion — DroneCAN + flight controller — generic ArduPilot CAN enable (ignore ESC sections; we use PWM/DShot ESCs)
- Holybro — H-RTK F9P DroneCAN overview
- Holybro — H-RTK ArduPilot setup
- ArduPilot — Compass calibration
- ArduPilot — Magnetic interference
- Holybro — CAN termination (DroneCAN)
Video
ArduPilot Compass Setup Pro Tips — avoid toilet-bowling — YouTube
How to configure DroneCAN on ArduPilot — YouTube
Read next
- Micro M9N GPS
- CAN Hub
- H-RTK F9P Helical
- H-RTK Helical mount
- Ports & wiring
- Step 4 — Radio & telemetry
Done when
Both GPS paths work. Heading/compass is usable. Interference is acceptably low.
Choice log
| What | Dual GPS + DroneCAN |
| Why | Position and heading must be solid before radio checks and first flight |
| Our pick | M9N on GPS2; F9P (+ later H-Flow) via CAN Hub on CAN1 |
Photos