


Step 2 — Flight controller & power
Now the frame is up, we add the nervous system: the Pixhawk 6X Mini and the PM02D. Power first. Then GPS and radio. Otherwise we debug three problems at once.
How we split pack power to ESC and FC: power & capacitors.
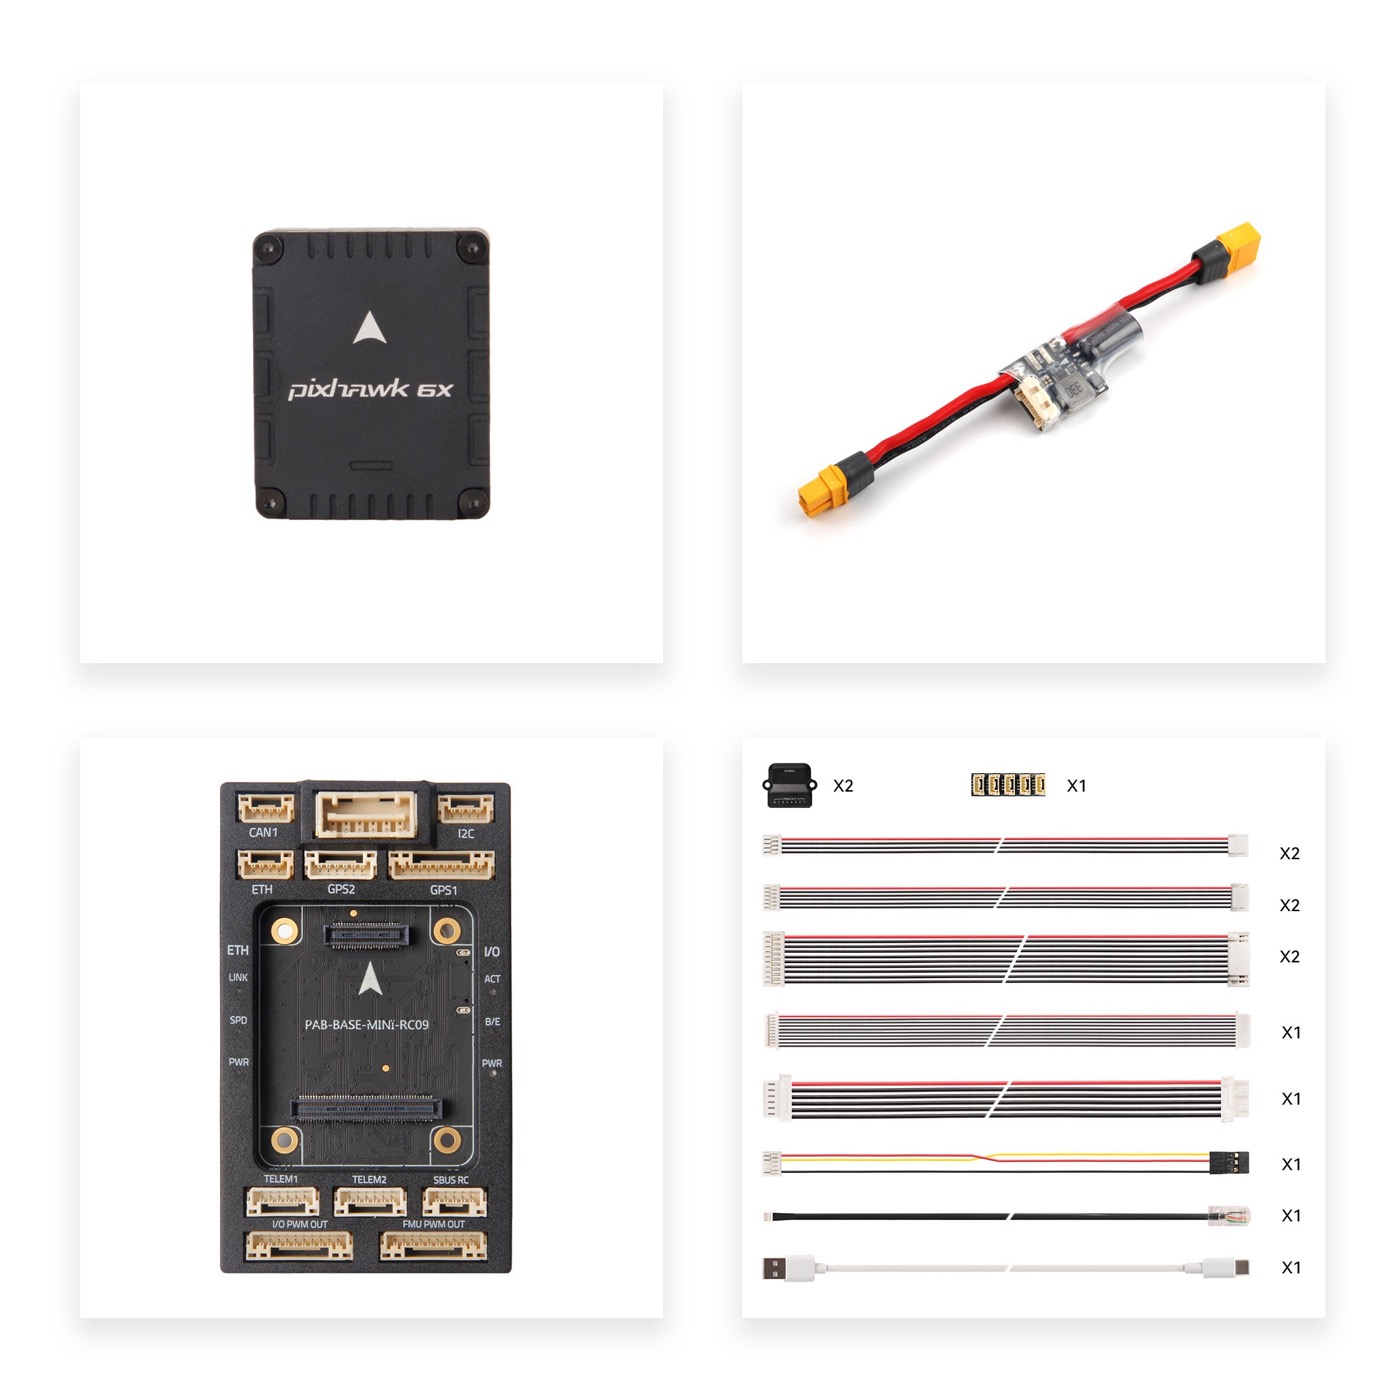
Pixhawk 6X Mini
More images
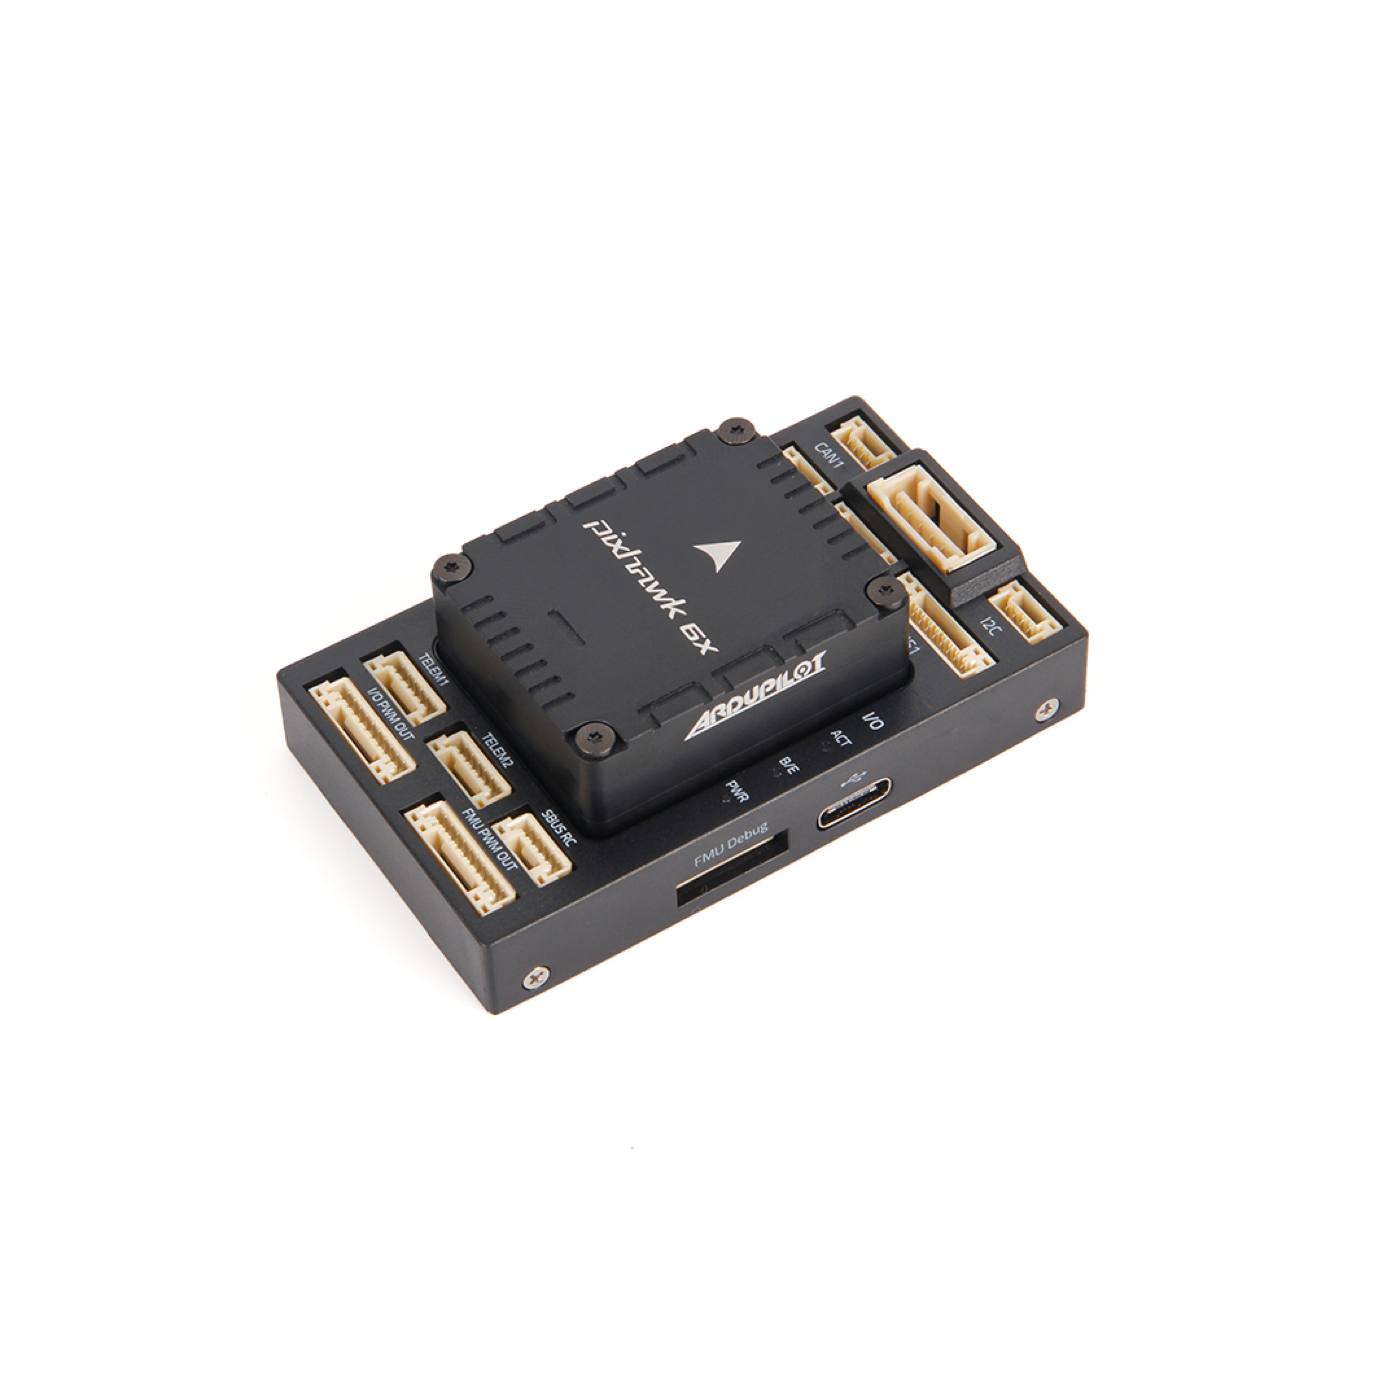
FMU module
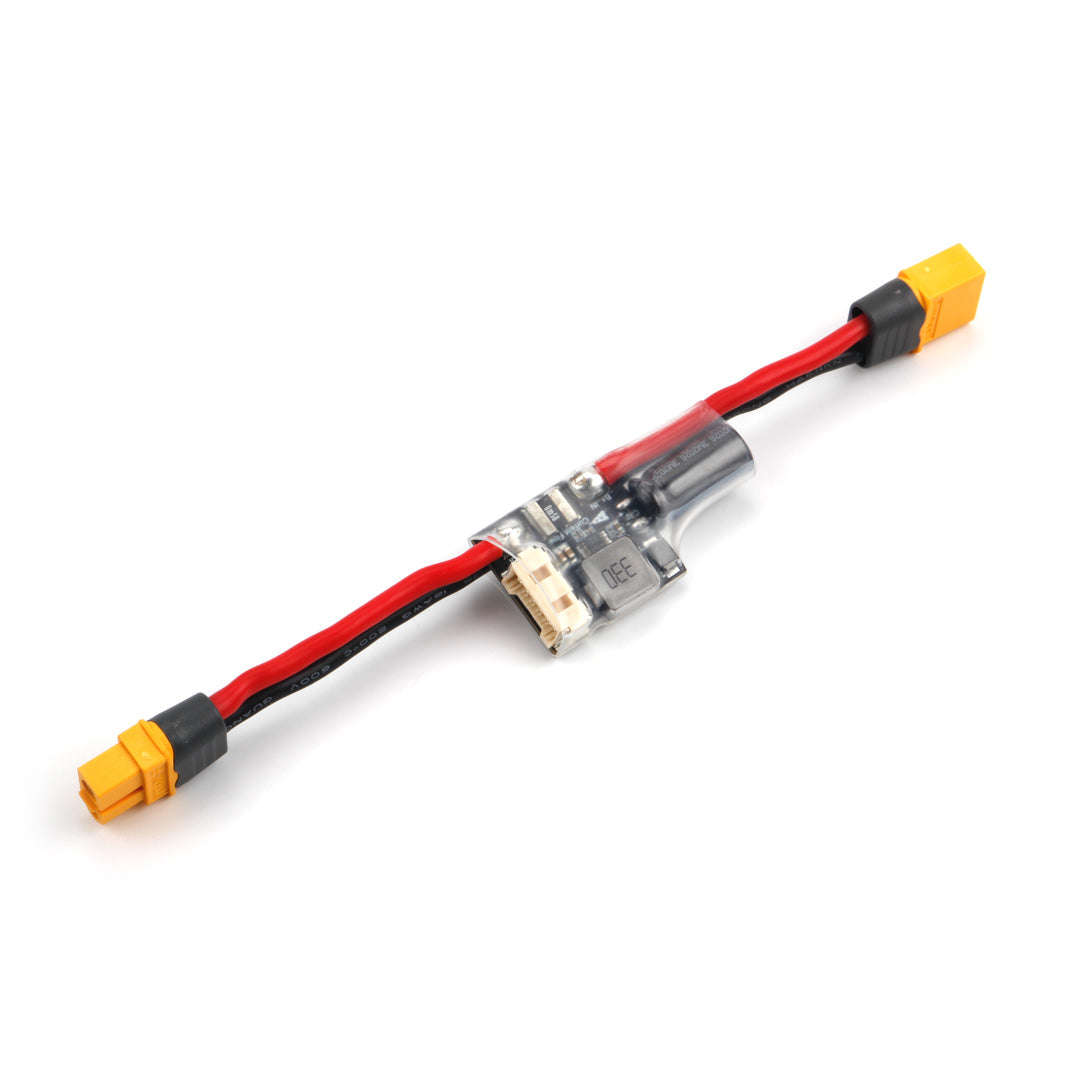
PM02D power module
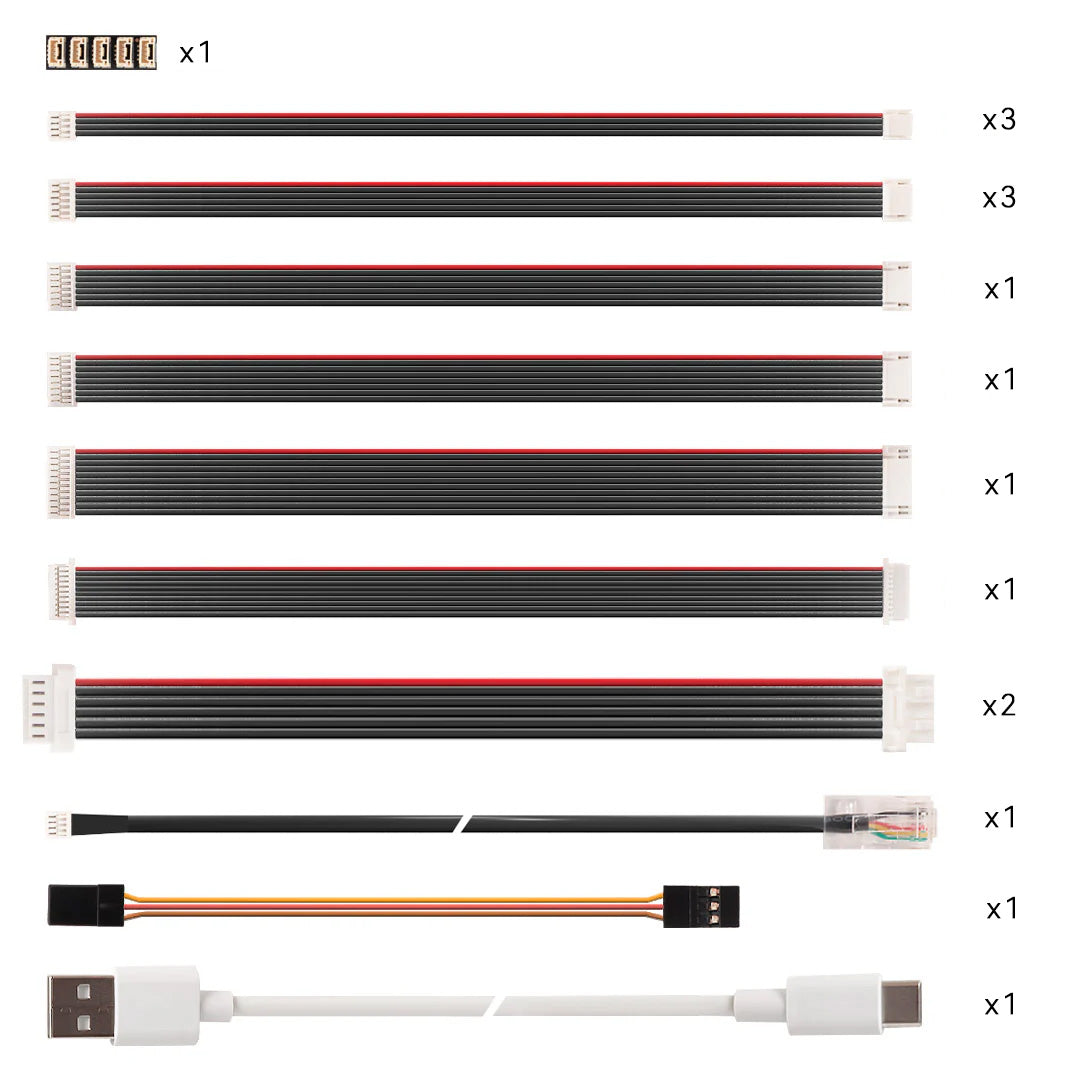
Mini cable set
What we choose
Digital power via PM02D on POWER1. No analog PM on this FC. Split pack power with a Y to ESC, FC, O4, and the CAN Hub. First boot always without props.
What we do
- Soft-mount the Pixhawk on the UL8 stack (30.5 mm).
- Put PM02D in the power path (6S → PM02D → POWER1).
- Feed the pack through an XT60H Y to the Pacer, PM02D, O4 Pro, and CAN Hub XT30 (5 V for F9P + H-Flow). Pack: Tattu 6S. O4 steps: install.
- Solder the low-ESR capacitor from the Pacer kit on the ESC pads (near XT60). PM02D already has an on-board cap.
- Use the Mini cable set for I/O. Ports per ports & wiring.
- First boot without props.
Manuals
Video
Holybro Pixhawk 6X Unboxing, Review and Assembling — YouTube
Read next
Done when
The FC has stable power via PM02D. Wiring is tidy. Port allocation is locked.
Choice log
| What | Pixhawk 6X Mini + PM02D + power split |
| Why | Power first, or sensors and radio will lie to us |
| Our pick | Digital PM02D; Y to Pacer, PM, O4 and CAN Hub; boot without props |
Photos