


What we are building: autonomous long-range quadrotor
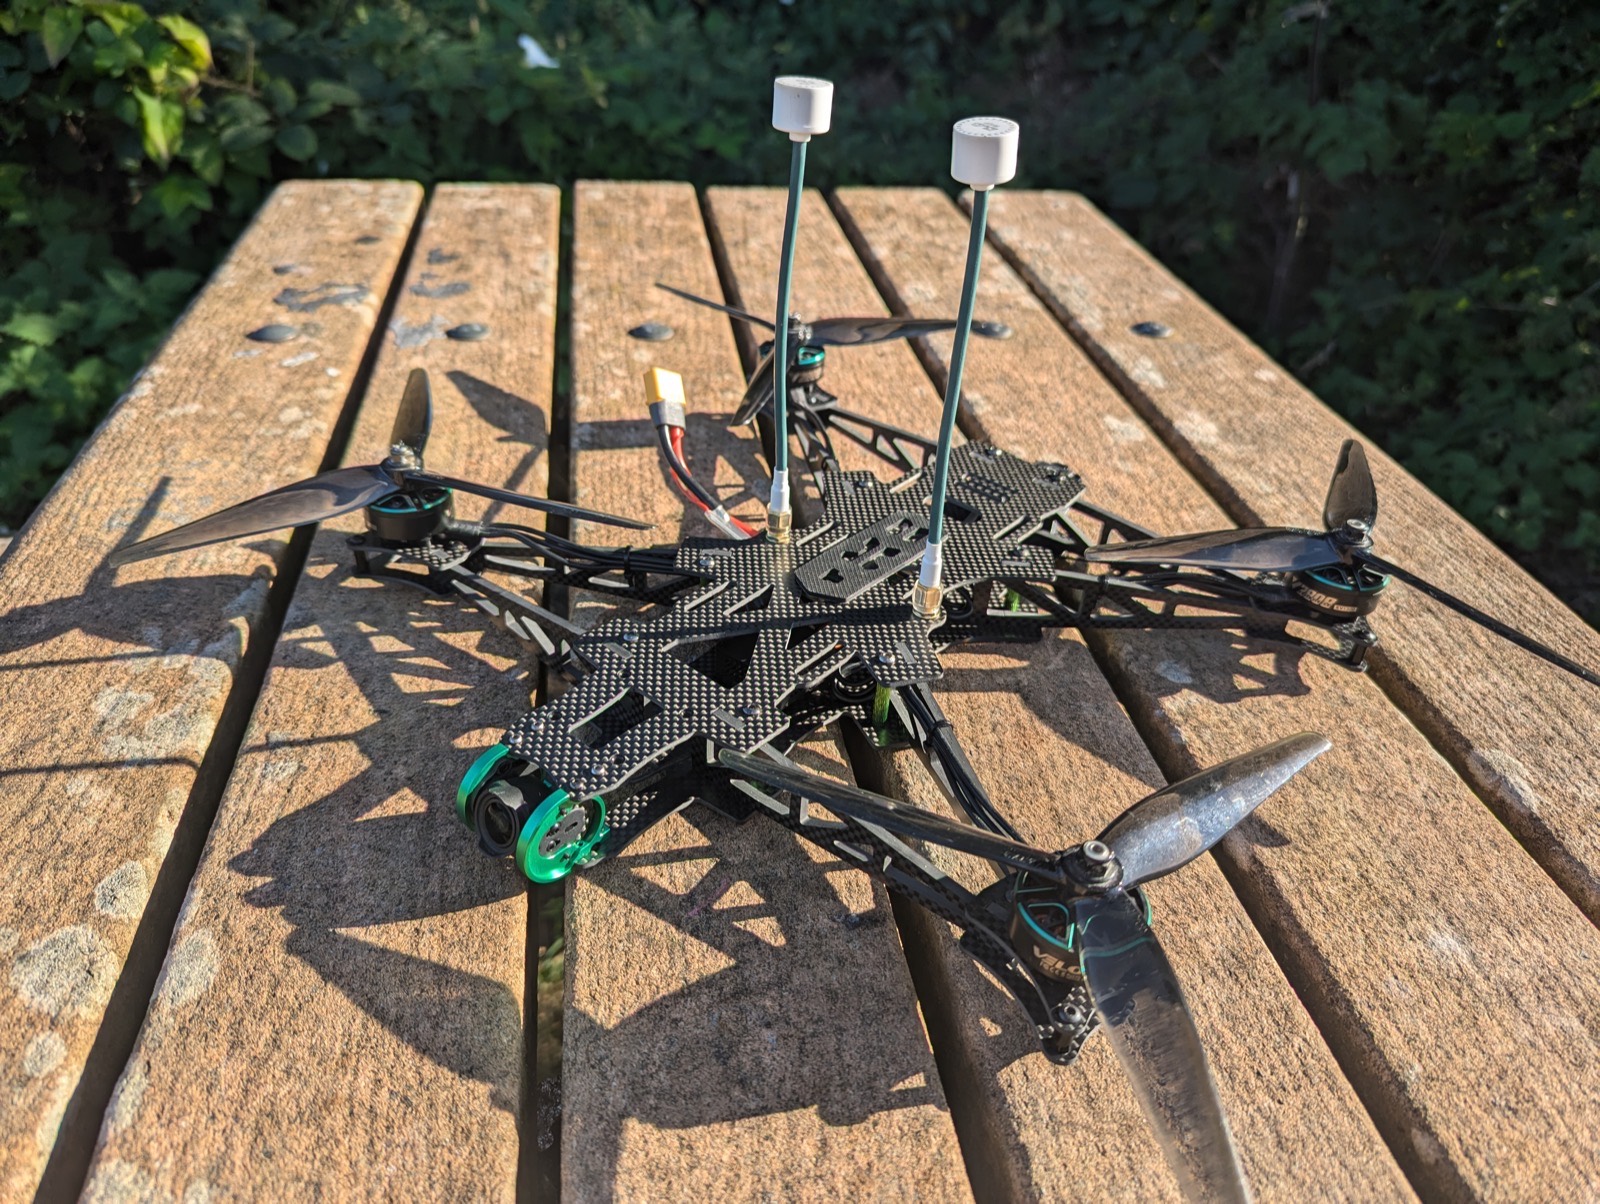
AOS UL8 V5 — base of this build
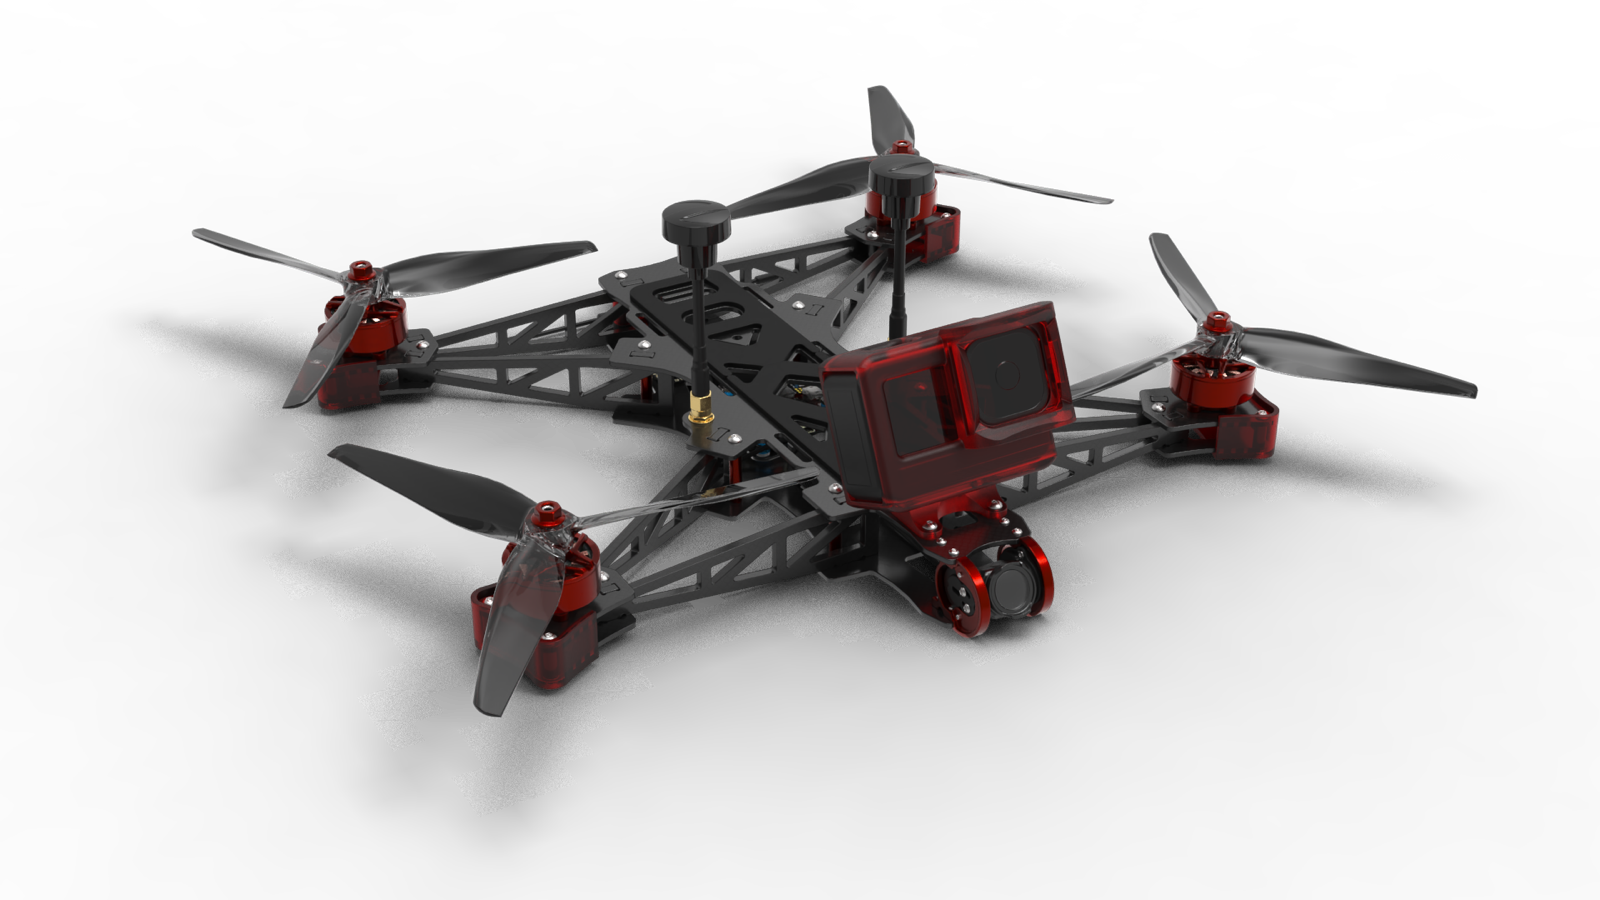
UL8 V5 render
We had a parts list, an empty build log, and one clear wish: something that can fly missions on its own — not just “sticks and FPV goggles”. Not a cinema drone. A learning and mission platform on ArduPilot. This is the entry point to the Xenobyte build log.
Why this project
We want an aircraft that can:
- Fly missions — waypoints, loiter, later richer tasking.
- Teach us how control, sensors, and ArduPilot work together.
- Stay reproducible: every choice gets its own post.
That sounds big. In practice it means: assemble the frame, feed the stack, get the radio talking, then expand autonomy. We document while we learn — including doubt and “we didn’t know that yet”.
The stack we are finishing now
The airframe is an AOS UL8 V5. Brains: Pixhawk 6X Mini with PM02D. Propulsion: T-Motor F100 1100KV + Pacer 60A V2 + HQProp LR8×4.2×3. First pack: Tattu R-Line V6 1480 mAh 6S. Video: DJI O4 Air Unit Pro via XT60 Y.
That is enough to fly safely. Remote ID, extra cameras, companion PC: those wait in the later backlog.
How we work
Eight process steps — from mechanics to autonomy. Each step is a blog post.
- Frame & mechanics
- Flight controller & power
- Position & heading
- Radio & telemetry
- Low-speed sensing
- Obstacle awareness
- Config & first flights
- Expanding autonomy
Deeper explainers along the way: power & capacitors, ports & wiring, ExpressLRS explained, tools, Tattu 6S, DJI O4, XT60, O4 install. Firmware: firmware page.
What this is not
Not a BMPCC/cinema stack. Not a sealed kit. Documented choices, named alternatives, and a searchable build log. Dumb questions are allowed — we ask them ourselves.
Reference — ArduPilot optional hardware vs our build
Everything we do have hangs off a part post + step. Wiki items that do not fit this build we do not buy until we can fly safely.
Source index: Peripheral / Optional Hardware.
(Mission Planner: Initial Setup → Optional Hardware.)
| Wiki topic | With us | Docs / params |
|---|---|---|
| Cable design | Do | Ports & wiring |
| Power modules | In use | PM02D — BATT_MONITOR=21 |
| GPS/Compass | In use | Micro M9N + F9P (GPS1_TYPE=9) |
| DroneCAN | In use | CAN Hub → F9P + H-Flow |
| Optical flow | In use | H-Flow — FLOW_TYPE=6 |
| Rangefinders | Down | H-Flow ToF = RNGFND1, not LD-06 |
| Proximity / OA | 360° | LD-06 — PRX1_TYPE=16 |
| RC / CRSF·ELRS | In use | TX16S + XR4 — setup |
| Telemetry radios | Via ELRS | No separate SiK radio |
| ESCs & DShot | In use | Pacer + F100 — MAIN OUT |
| Safety switch | Software off | No button on Micro M9N → BRD_SAFETY_DEFLT=0 |
| Buzzer | Later | No discrete buzzer yet |
| ADS-B, companion PC, parachute, … | Later / N/A | Later backlog |
Read next
- Step 1 — Frame & mechanics
- Power & capacitors · Ports & wiring
- ExpressLRS explained · ArduPilot settings
- Drone-build hub
ArduPilot: Initial setup · Configuring hardware · Autopilots · Positioning
Choice log
| What | Autonomous 8″ LR quadrotor on ArduPilot — Xenobyte build log |
| Why | Learn missions, and write down every choice so we (and you) can follow along |
| Our pick | UL8 + Pixhawk 6X Mini + ELRS/CRSF + DShot propulsion; the rest later |
Photos